

| TESTING DATA | ||
| PROPERTY | STANDARD | RESULT |
|
Strength |
||
|
Tensile Strength |
ASTM D828 Standard Test Methods for Vulcanized Rubber and Thermoplastic Elastomers—Tension |
Machine Direction: |
|
Pliability |
CAN/CGSB 51.33 M89 Vapour Barrier Sheet, Excluding Polyethylene, for Use in Building Construction |
No Cracks |
|
Water Vapor Transmittance |
||
|
Water Vapor Transmission Desiccant Method Procedure A |
ASTM E96 Standard Test Methods for Gravimetric Determination of Water Vapor Transmission Rate of Materials |
Before Aging: |
| Water Vapor Transmission Using a Modulated Infrared Sensor | ASTM F1249 Standard Test Method for Water Vapor Transmission Rate Through Plastic Film and Sheeting Using a Modulated Infrared Sensor | 0.34 Perm (grain/h•ft²•inchHg) 19 ng/Pa•s•m² (23°C 0-50 %RH) |
|
Air Resistance Testing |
||
|
Air Permeance |
ASTM E2178 Standard Test Method for Determining Air Leakage Rate and Calculation of Air Permeance of Building Materials |
0.0017 L/s•m² @ 75 Pa (0.000335 cfm/ft² @ 1.57 psf) |
|
Water Resistance Testing |
||
|
Water Resistance |
AATCC 127 Hydrostatic pressure test (55 cm water column for 5 hours), American Association of Textile Chemists and Colorists |
No leakage |
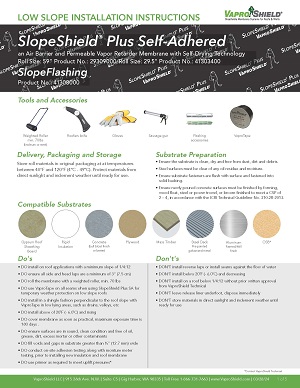
Installation Instructions (PDF)
Tools & Accessories
 |
 |
 |
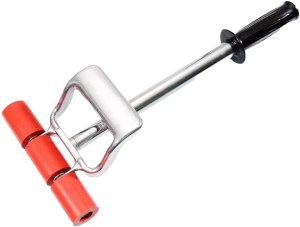 |
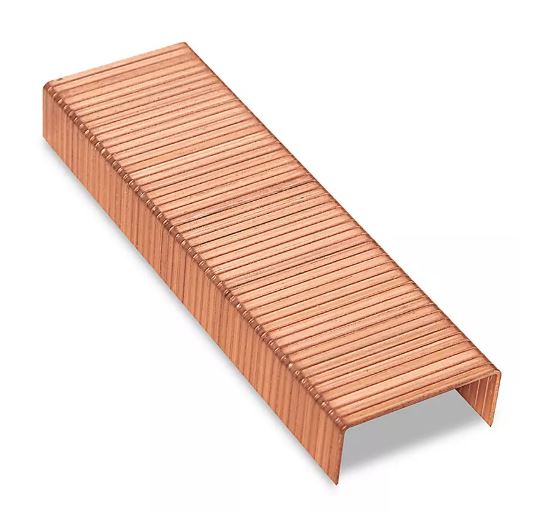
| Staple Gun | Corrosion-resistant staples |
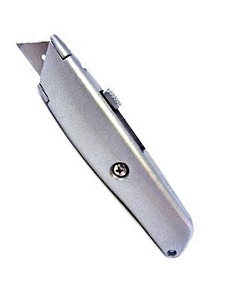
Box Knife | VaproRoller Part No. 60855190 |
 |
 |
 |
|
|
VaproShield |
VaproFlashing™ SA or approved single-sided sheathing tape |
VaproAirSeal™ |
Compatible Assemblies
 |
 |
|
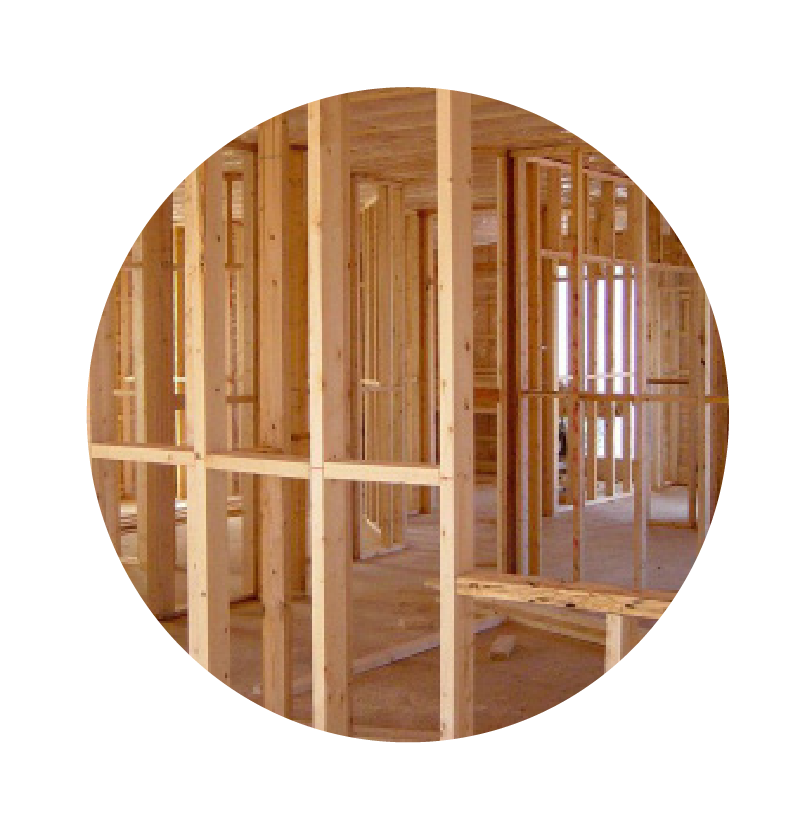
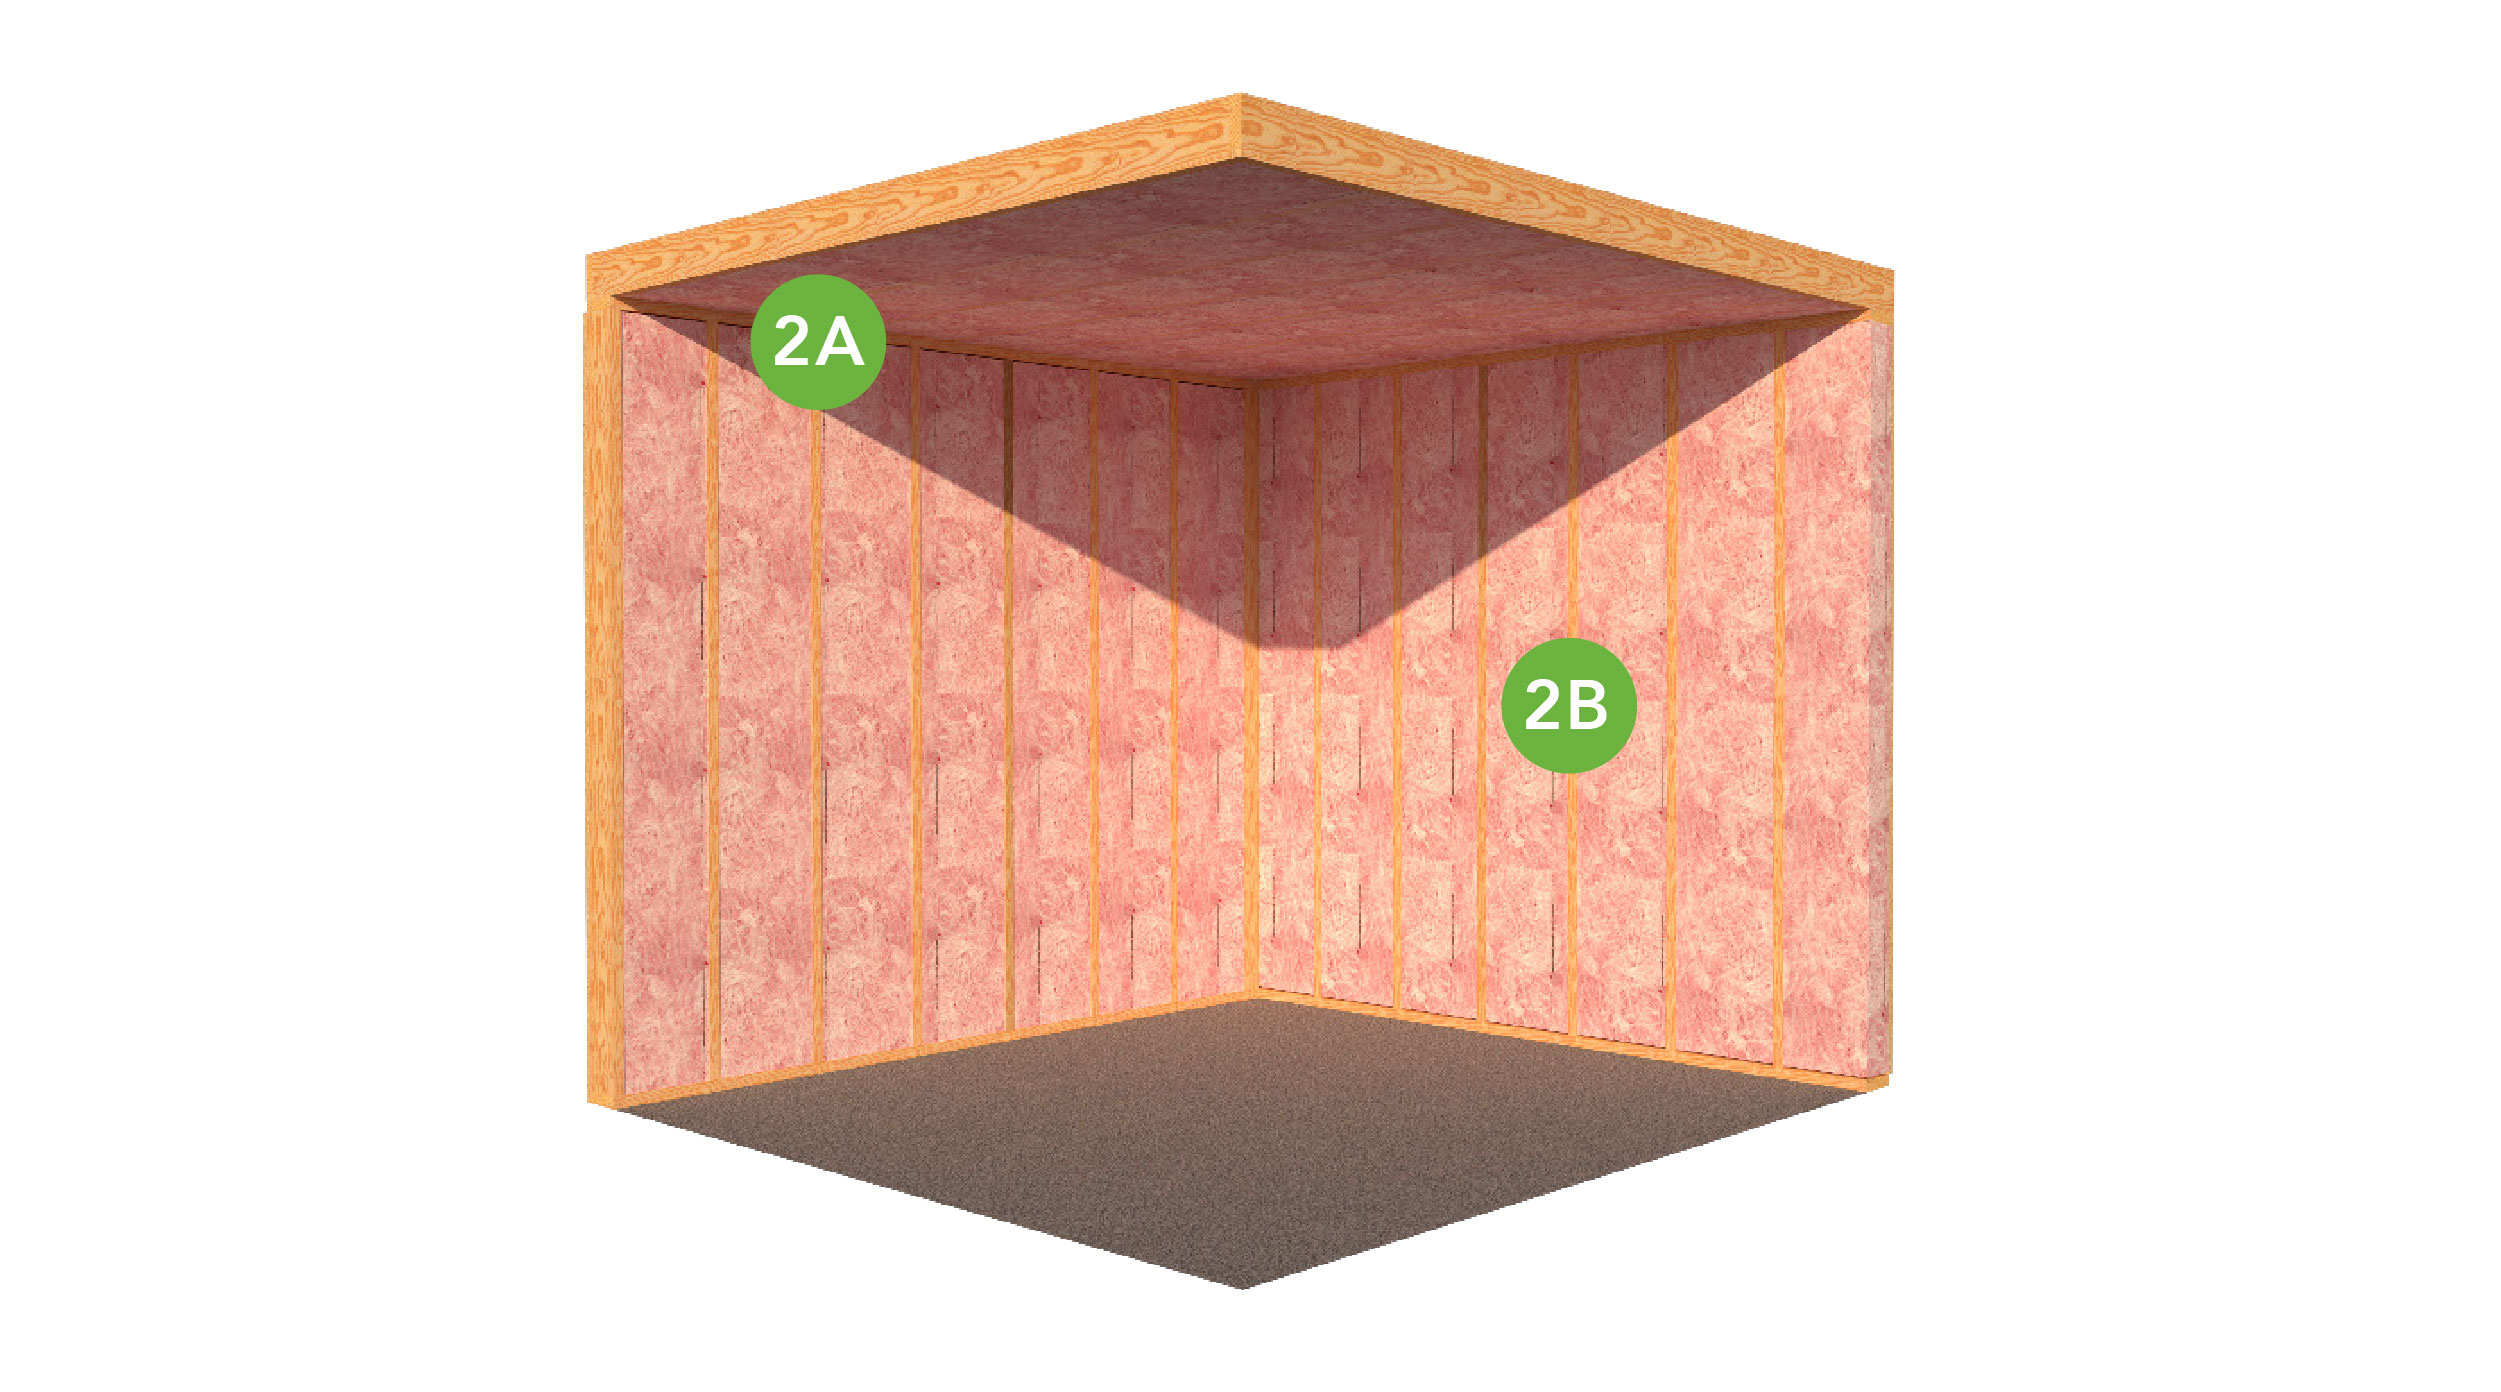
Wood Stud Framing |
Metal Stud Framing |
Delivery, Packaging And Storage
Store roll materials in original packaging at temperatures between 40°F and 120°F (4ºC - 49ºC). Protect materials from direct sunlight and inclement weather until ready for use.
Climate and UV Exposure
- Up to 12 months UV and climate exposure prior to cladding installation.
- Acceptable for open joint cladding installations.
Substrate Preparation
- Ensure framing is clear of nails, splinters and all unnecessary protrusions that could damage the membrane.
- Check that framing and substrates are structurally sound and capable of supporting the air barrier system.
Safety
- Read the full label and SDS for precautionary instructions before use. Use proper safety equipment and jobsite controls during application and handling.
- Work crews are safe around VaproShield membranes.
- VaproSmart ICL contains zero VOCs or toxins.
| Do's | Don'ts |
|
|
Best Practice Installation
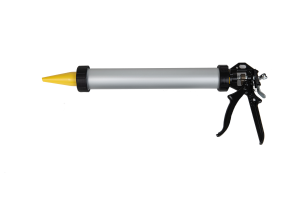
Note: Before beginning, make sure all sheathing materials are clean, free of dust, frost, overnight dew and trimmed flush with framing members at rough openings and that all materials, sausage gun, and putty knife are on site. Evaluate substrate for any inefficiencies and cracks.
 |
 |
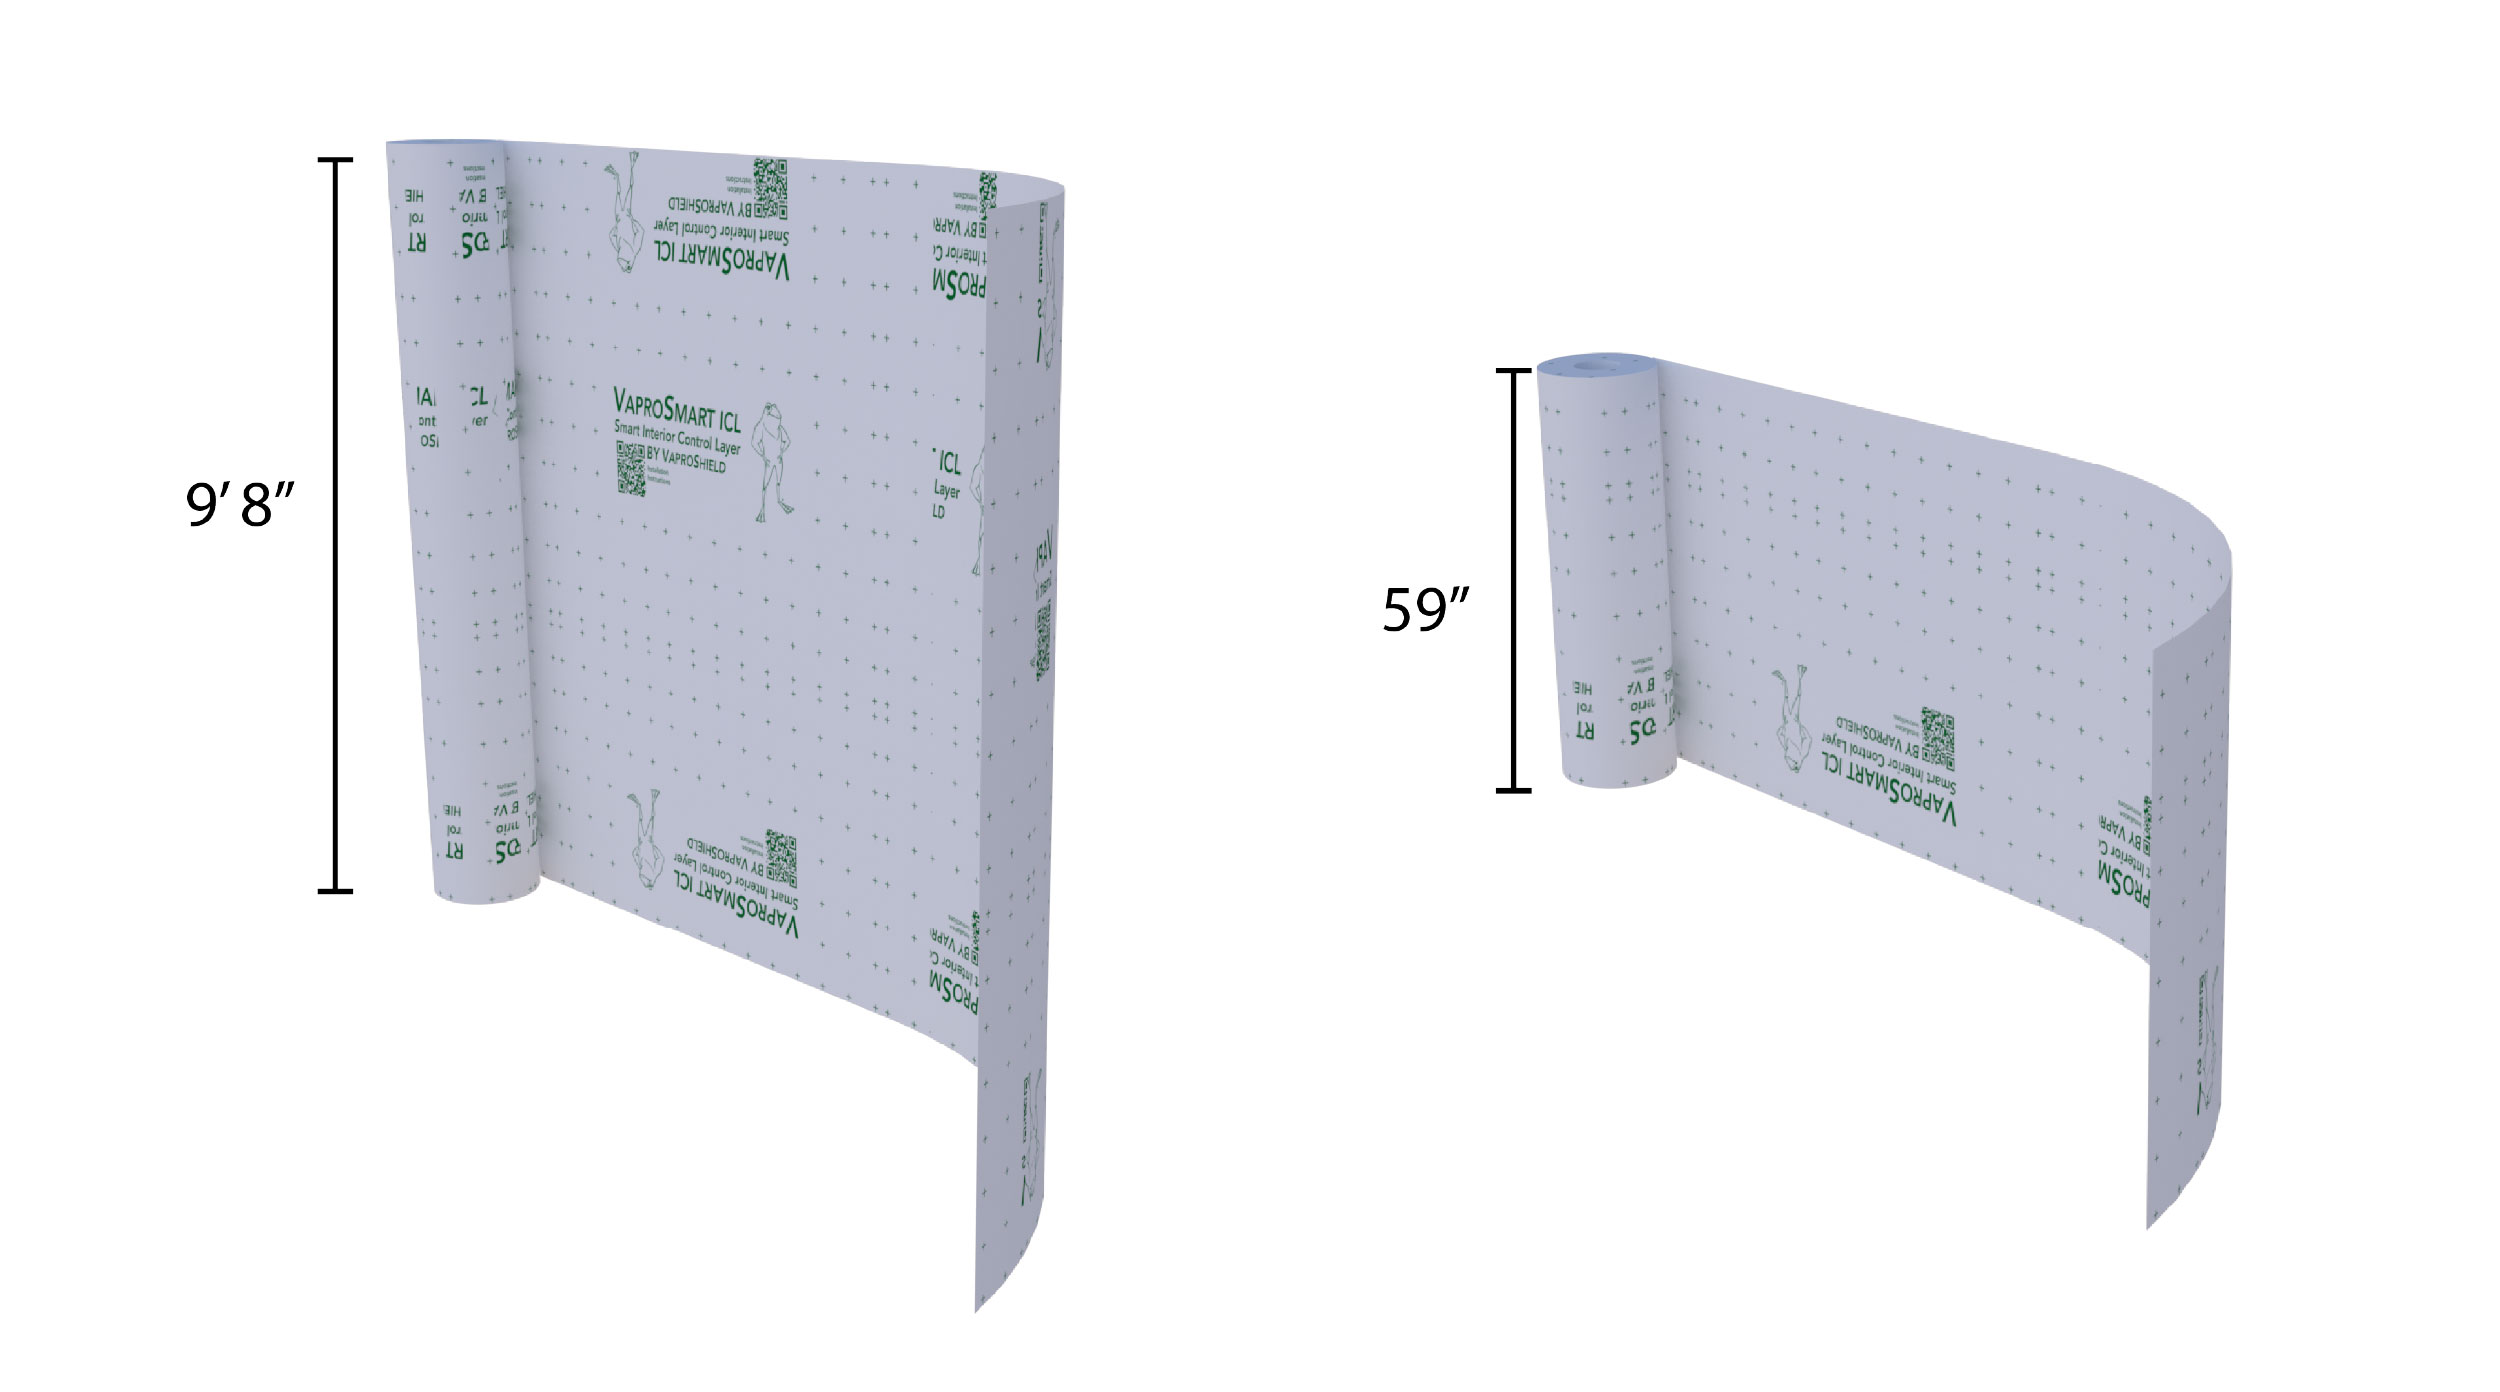
| Step 1: Identify Roll Size Confirm roll size: 9’8” or 59” (2.95 m or 1.5 m). |
Step 2: Workspace Preparation 2B. Remove nails, splinters, protrusions, dust, grease, and debris. Verify the workspace is clean and all required installation tools are available. |
 |
|
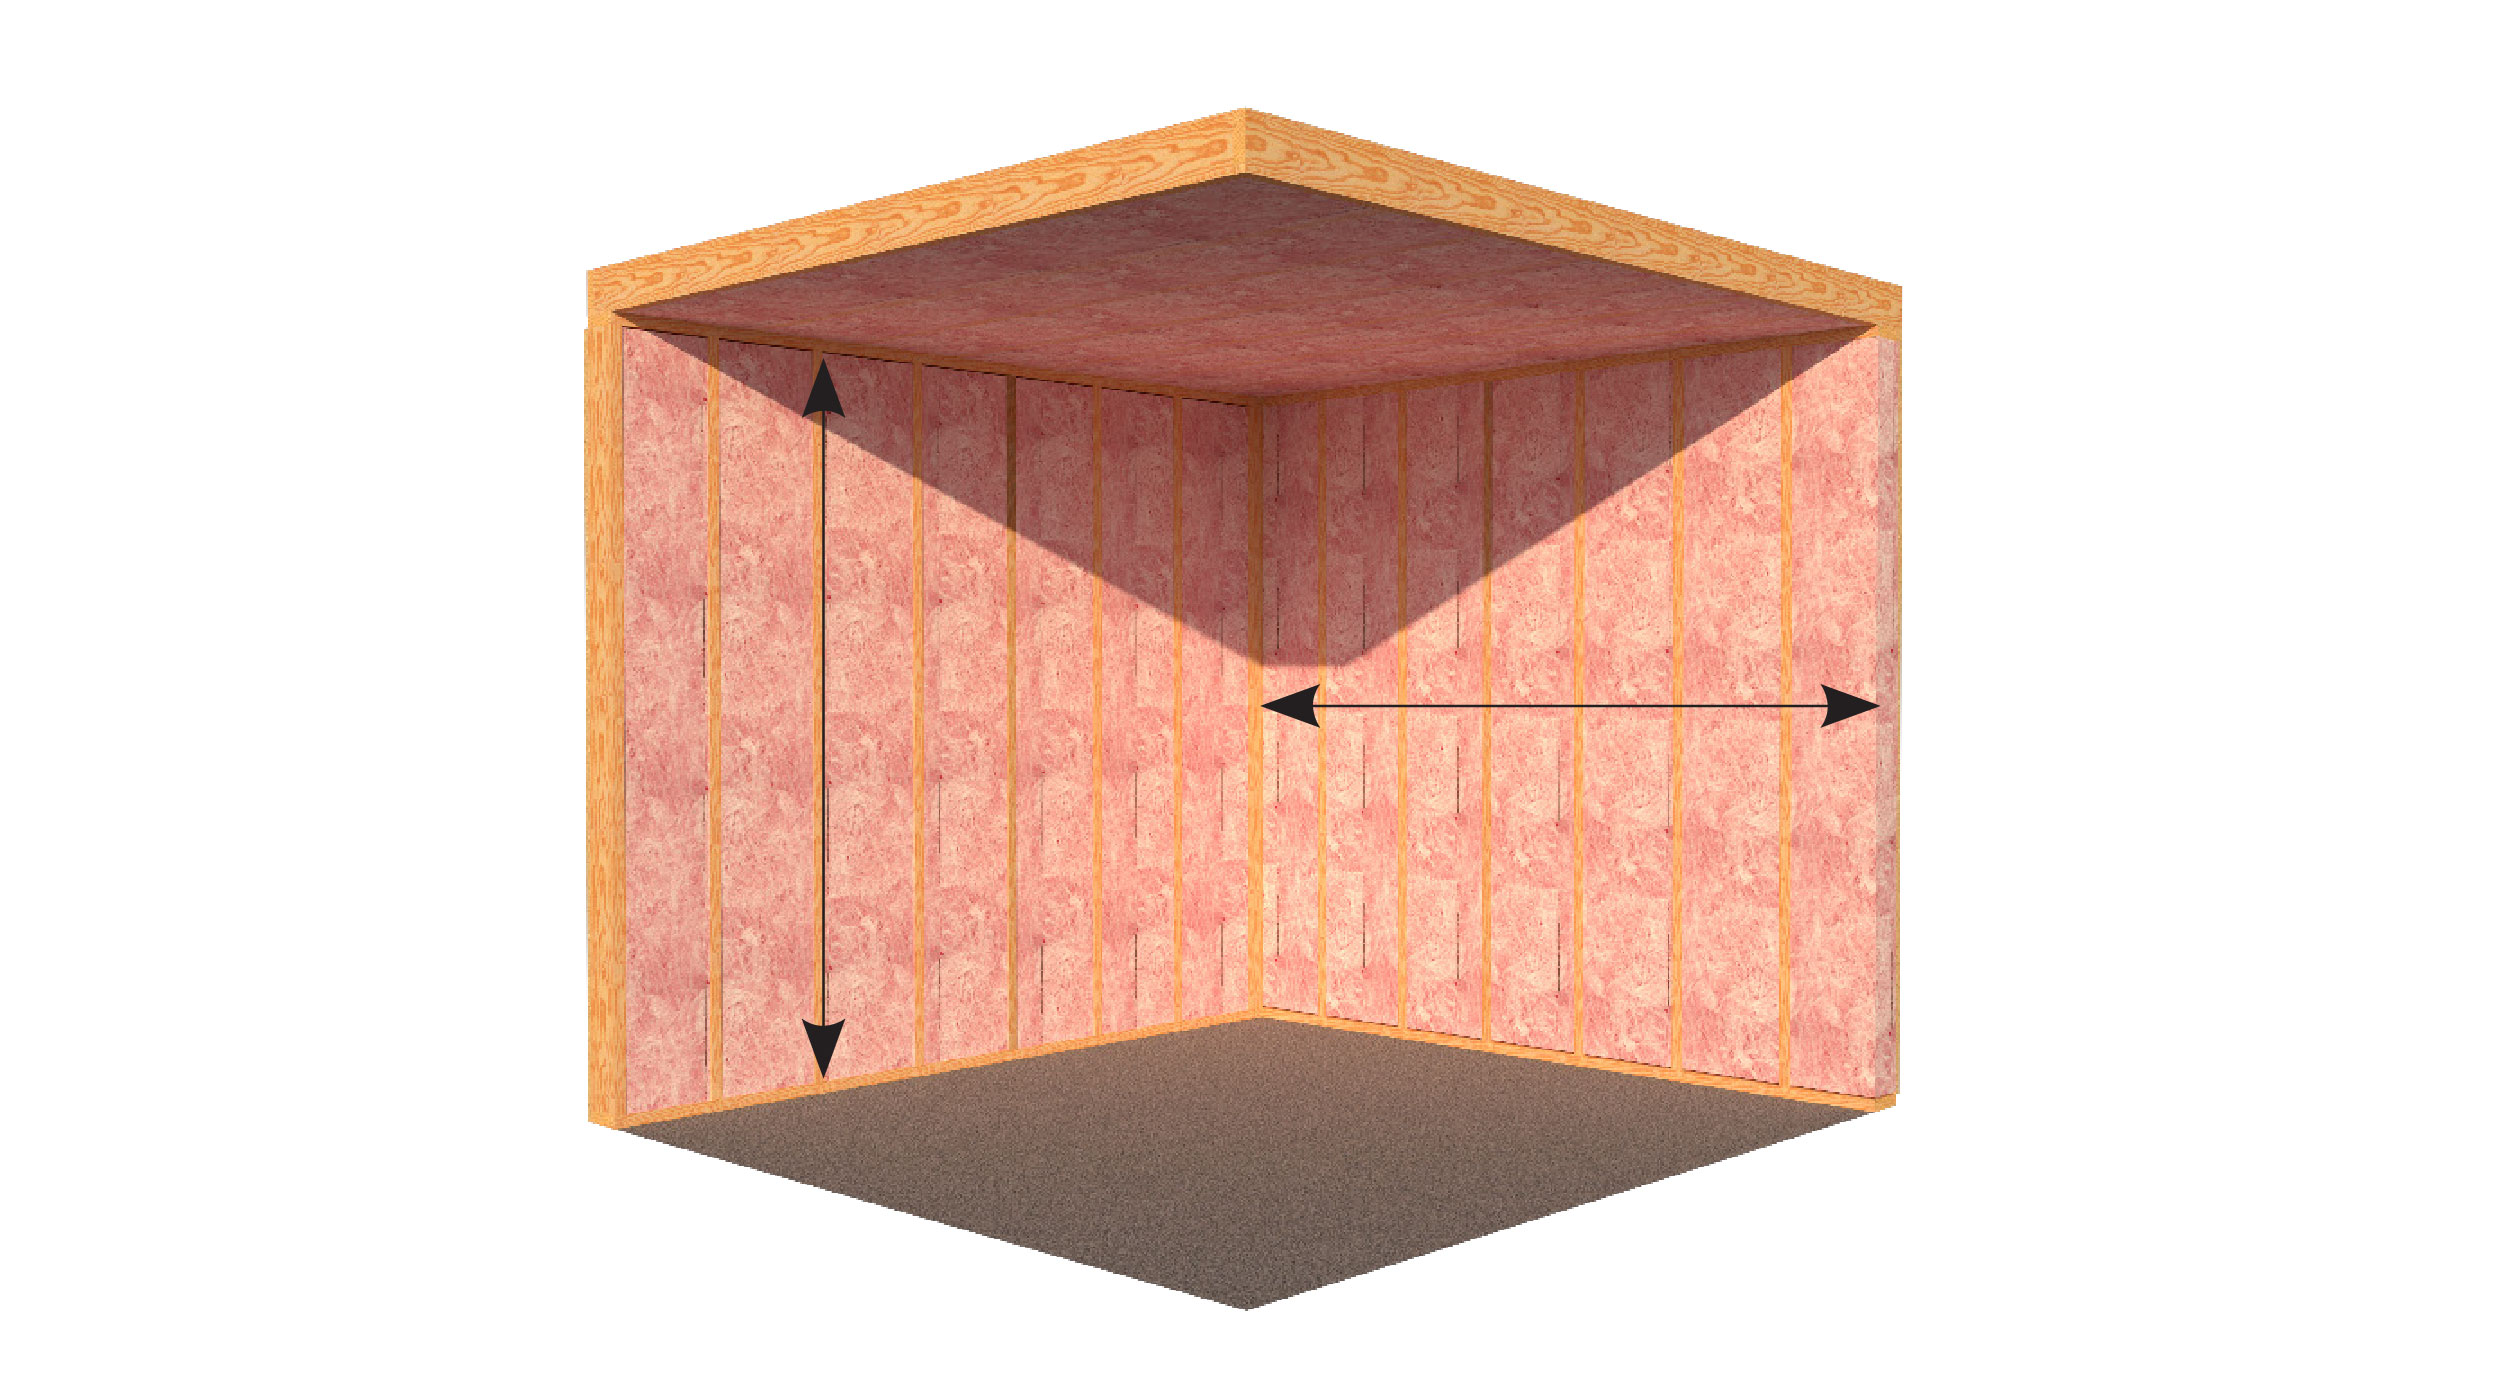
| Step 3: Positioning Based on framing and wall height determine horizontal or vertical installation. |
Step 4: Measure and Cut Membrane Keep sheets flat and tension-free—do not excessively stretch the membrane. |
 |
5. Attachment |
 |
 |
|
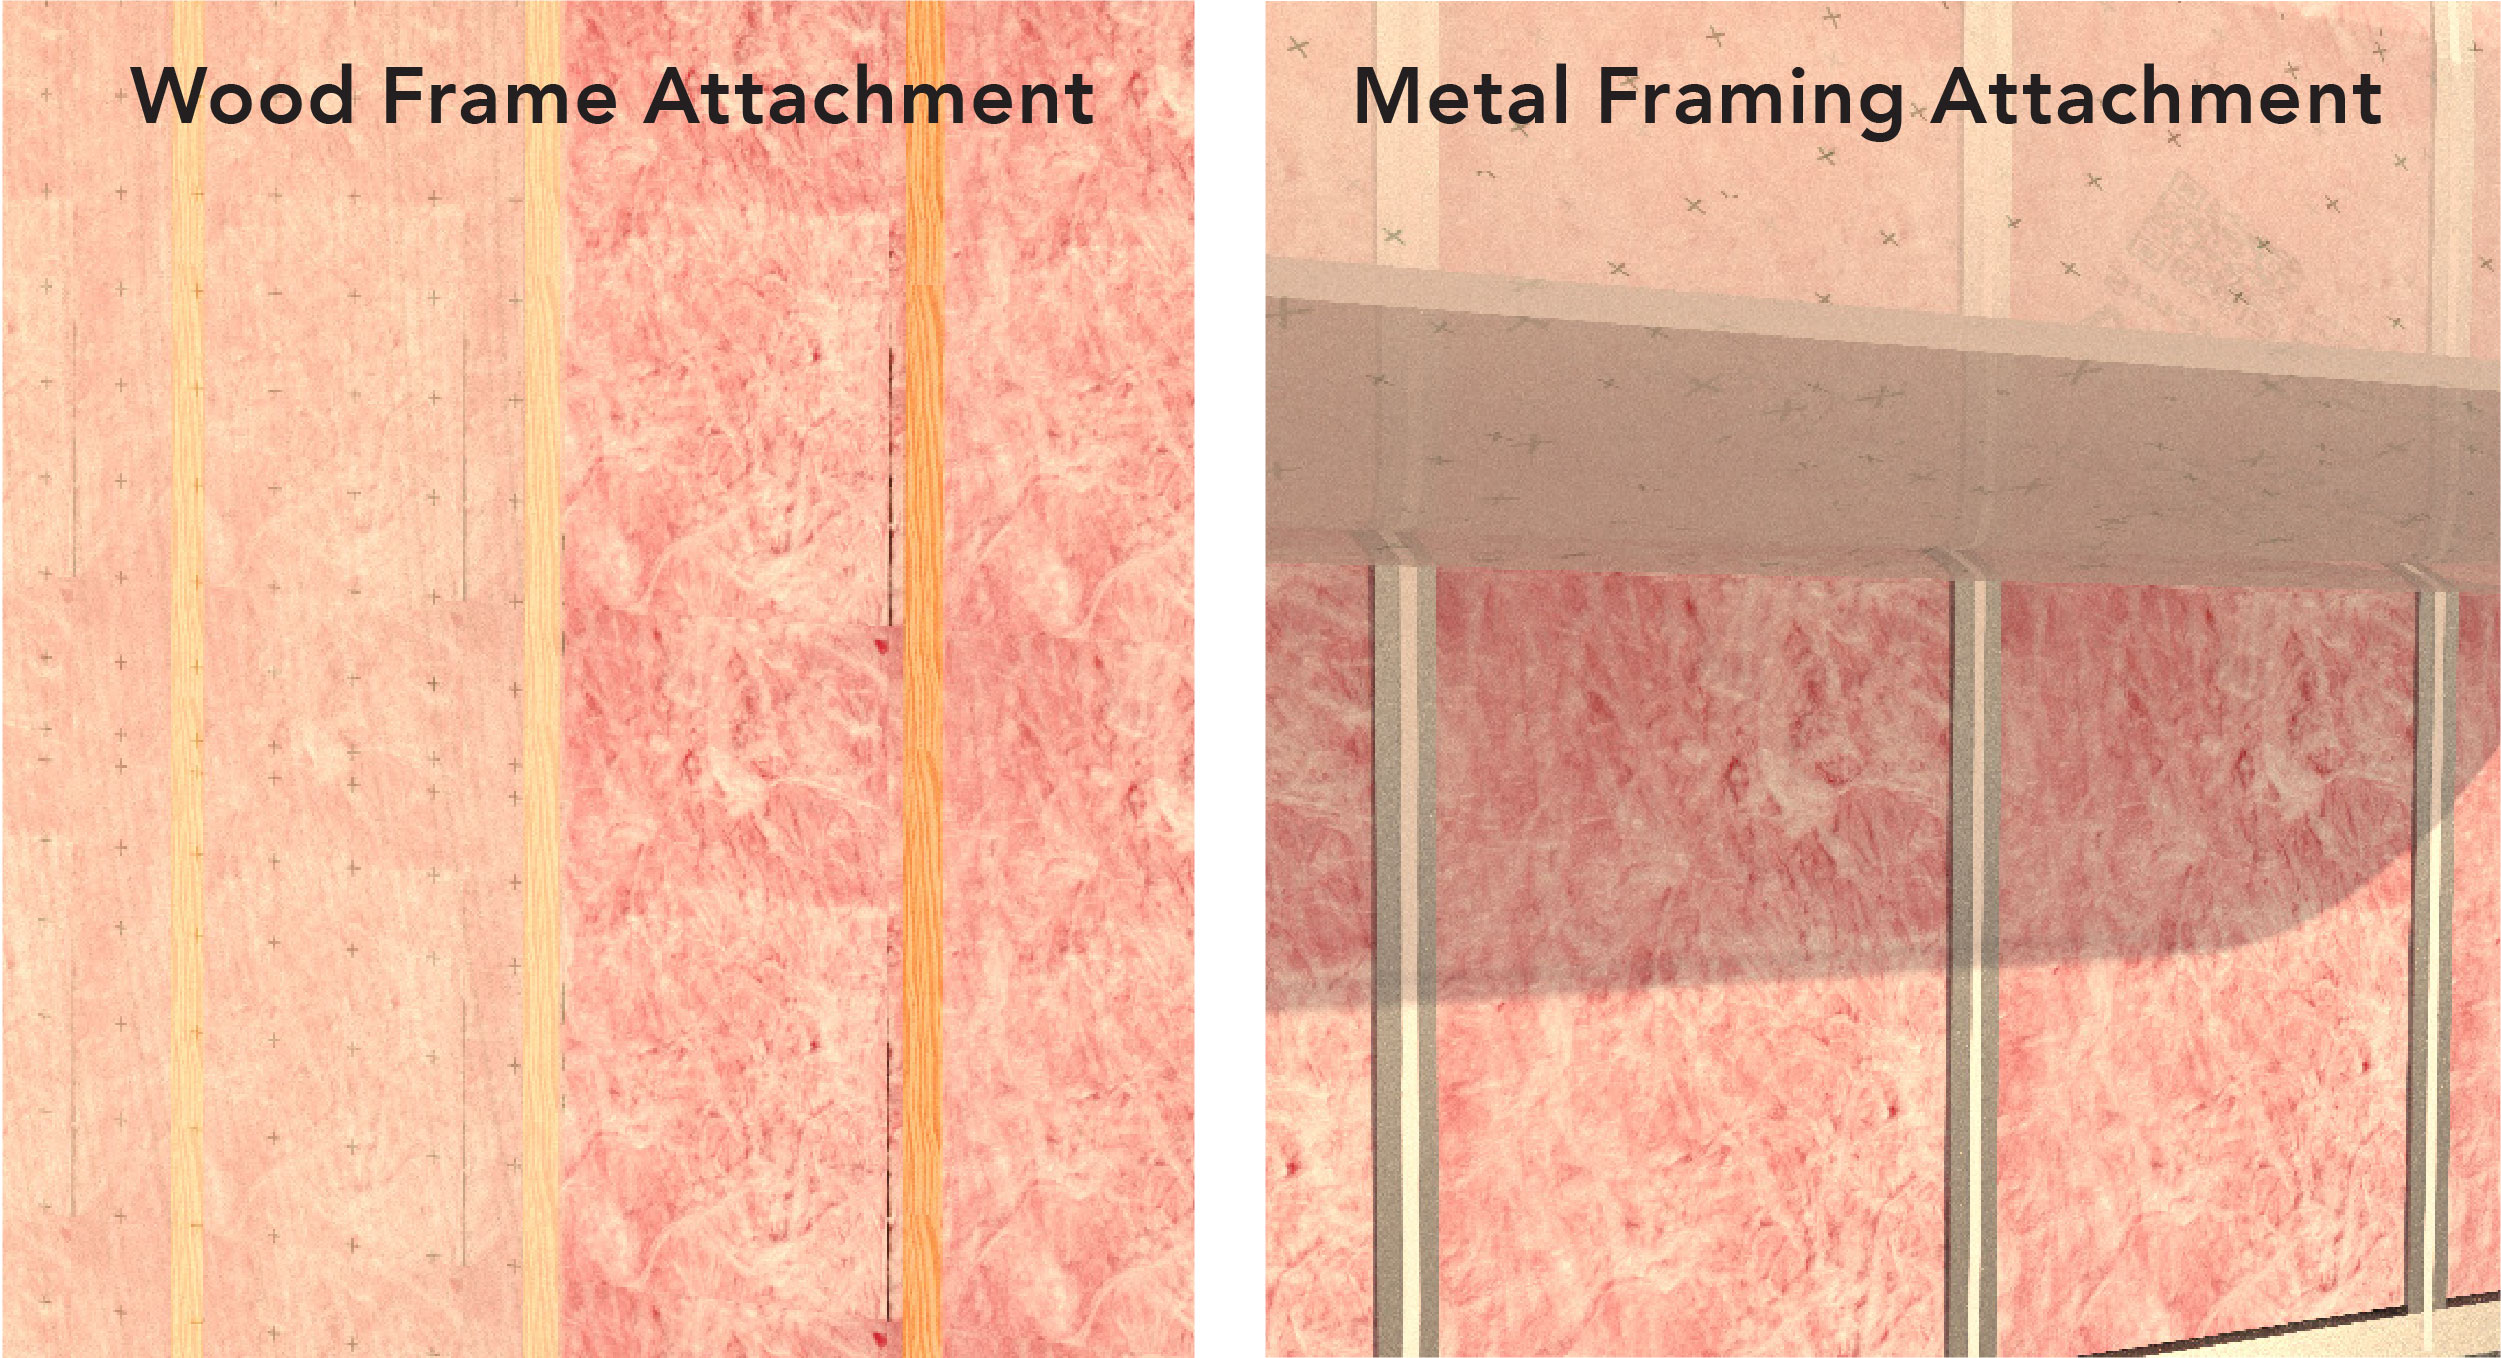
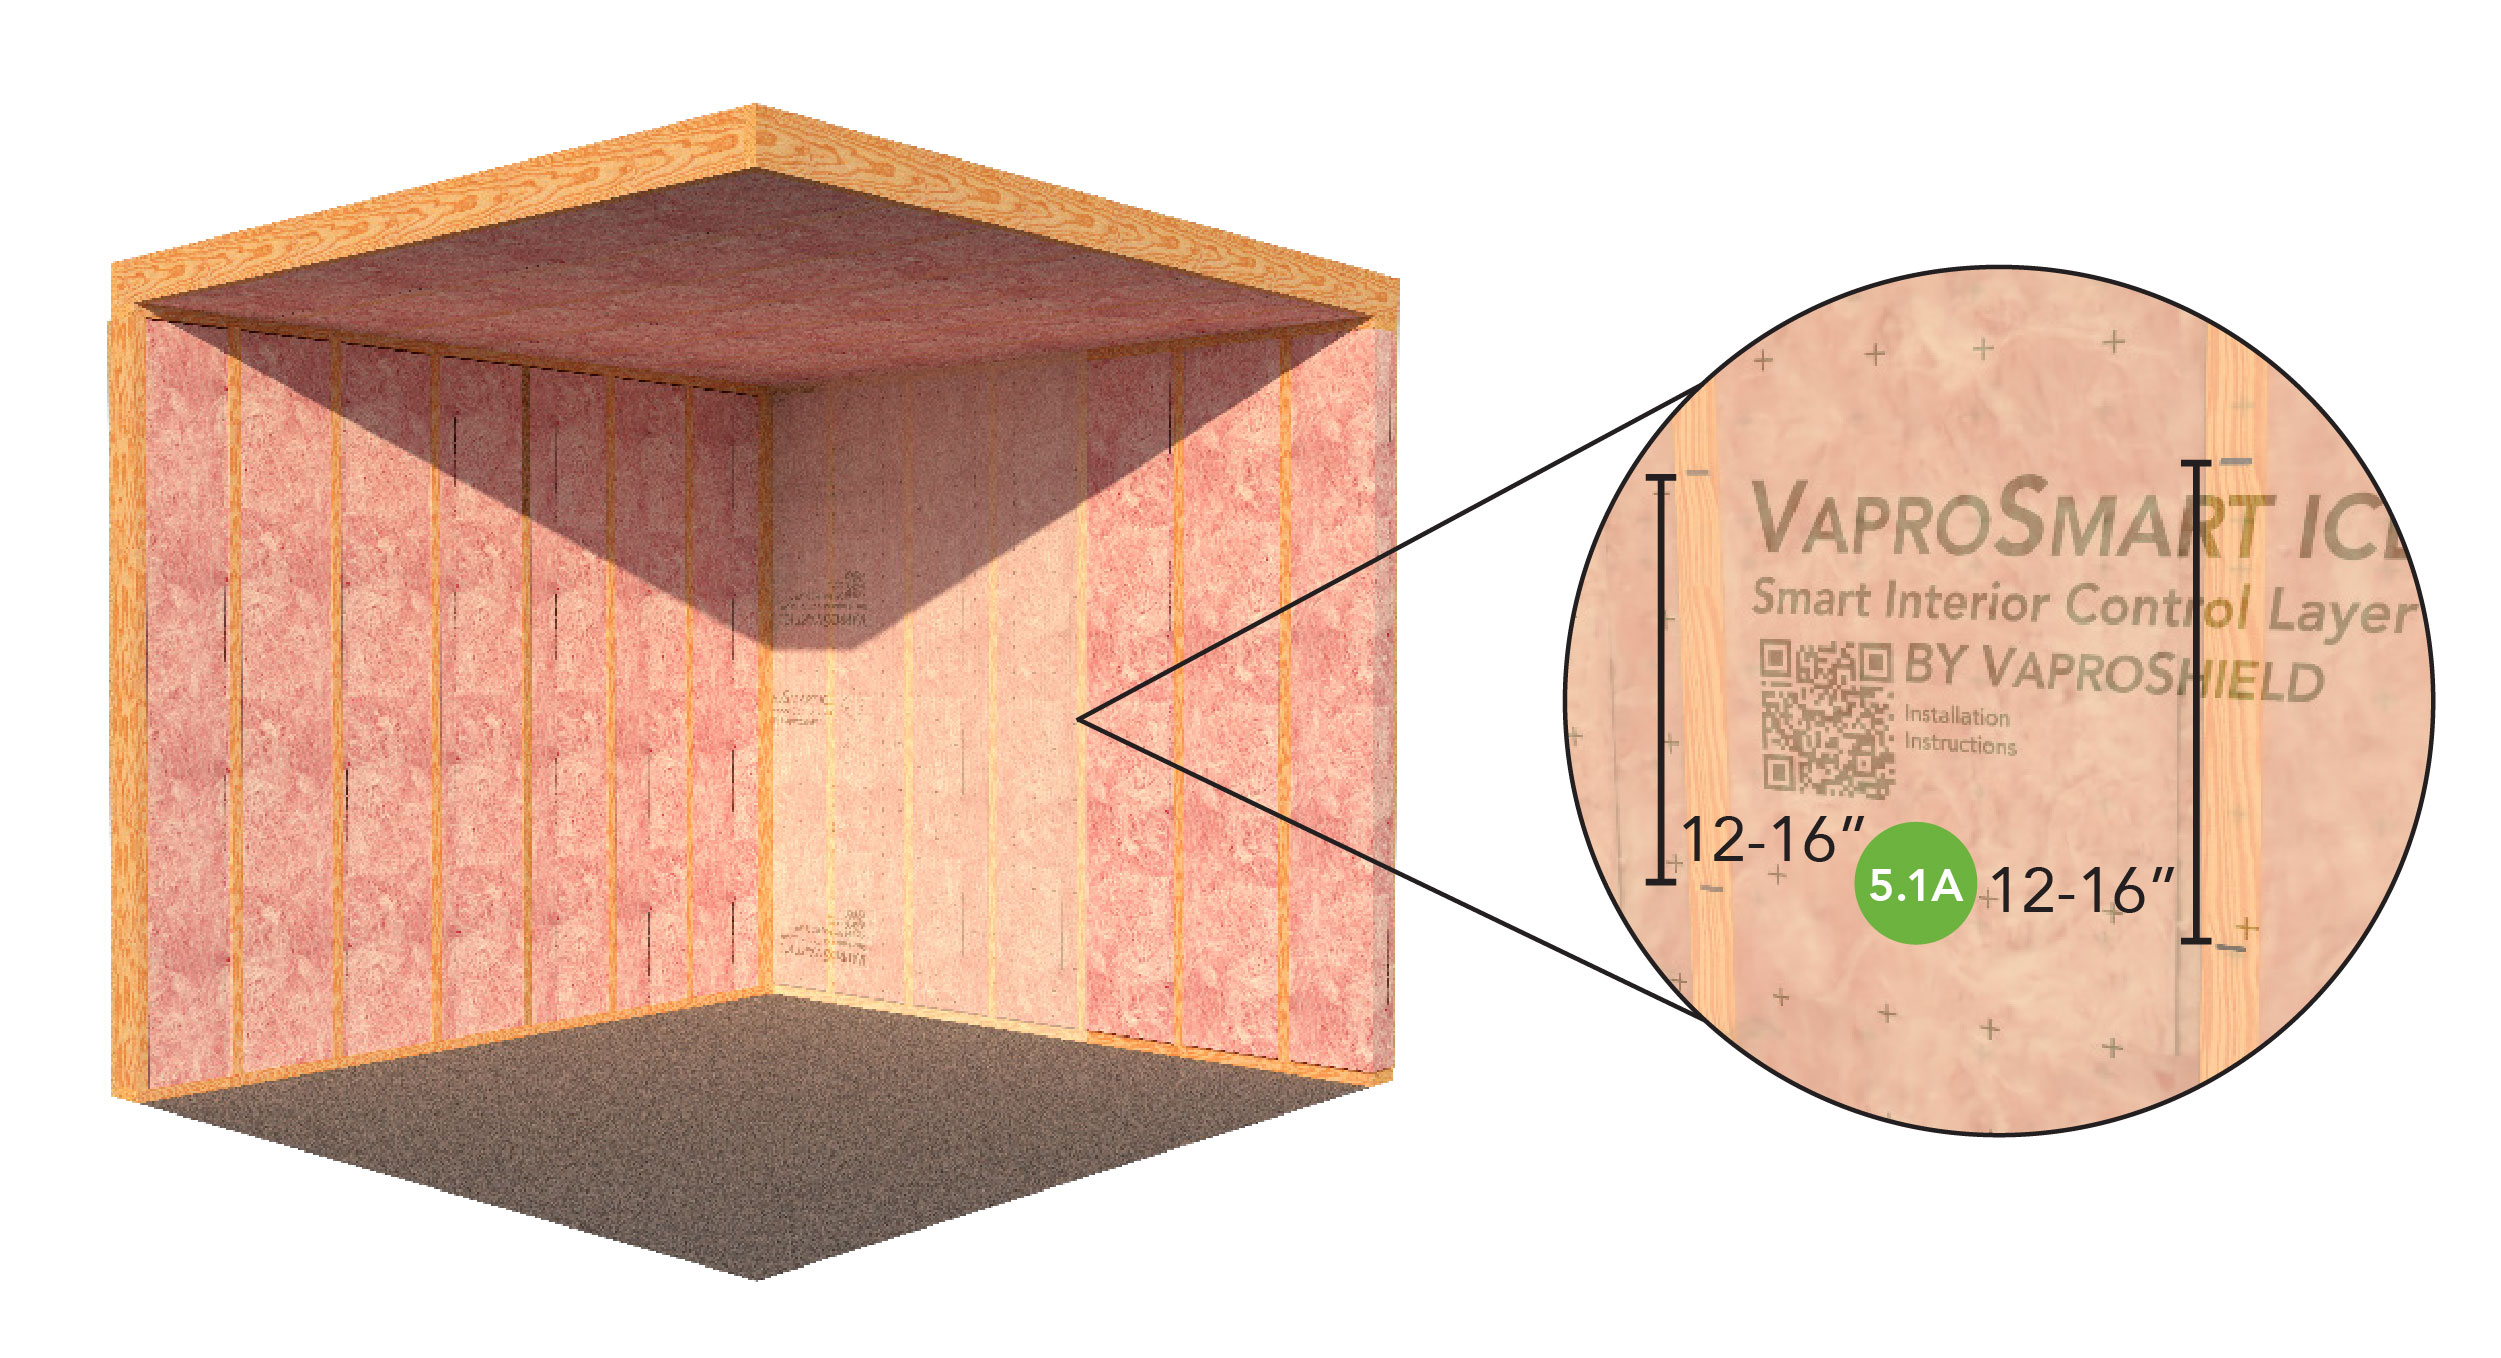
Step 5.1: Wood Frame Attachment 5.1A Fastener spacing: 12–16” (31-41 cm) on center, ideally within overlap areas. Align the membrane with framing and maintain smooth, wrinkle-free placement. |
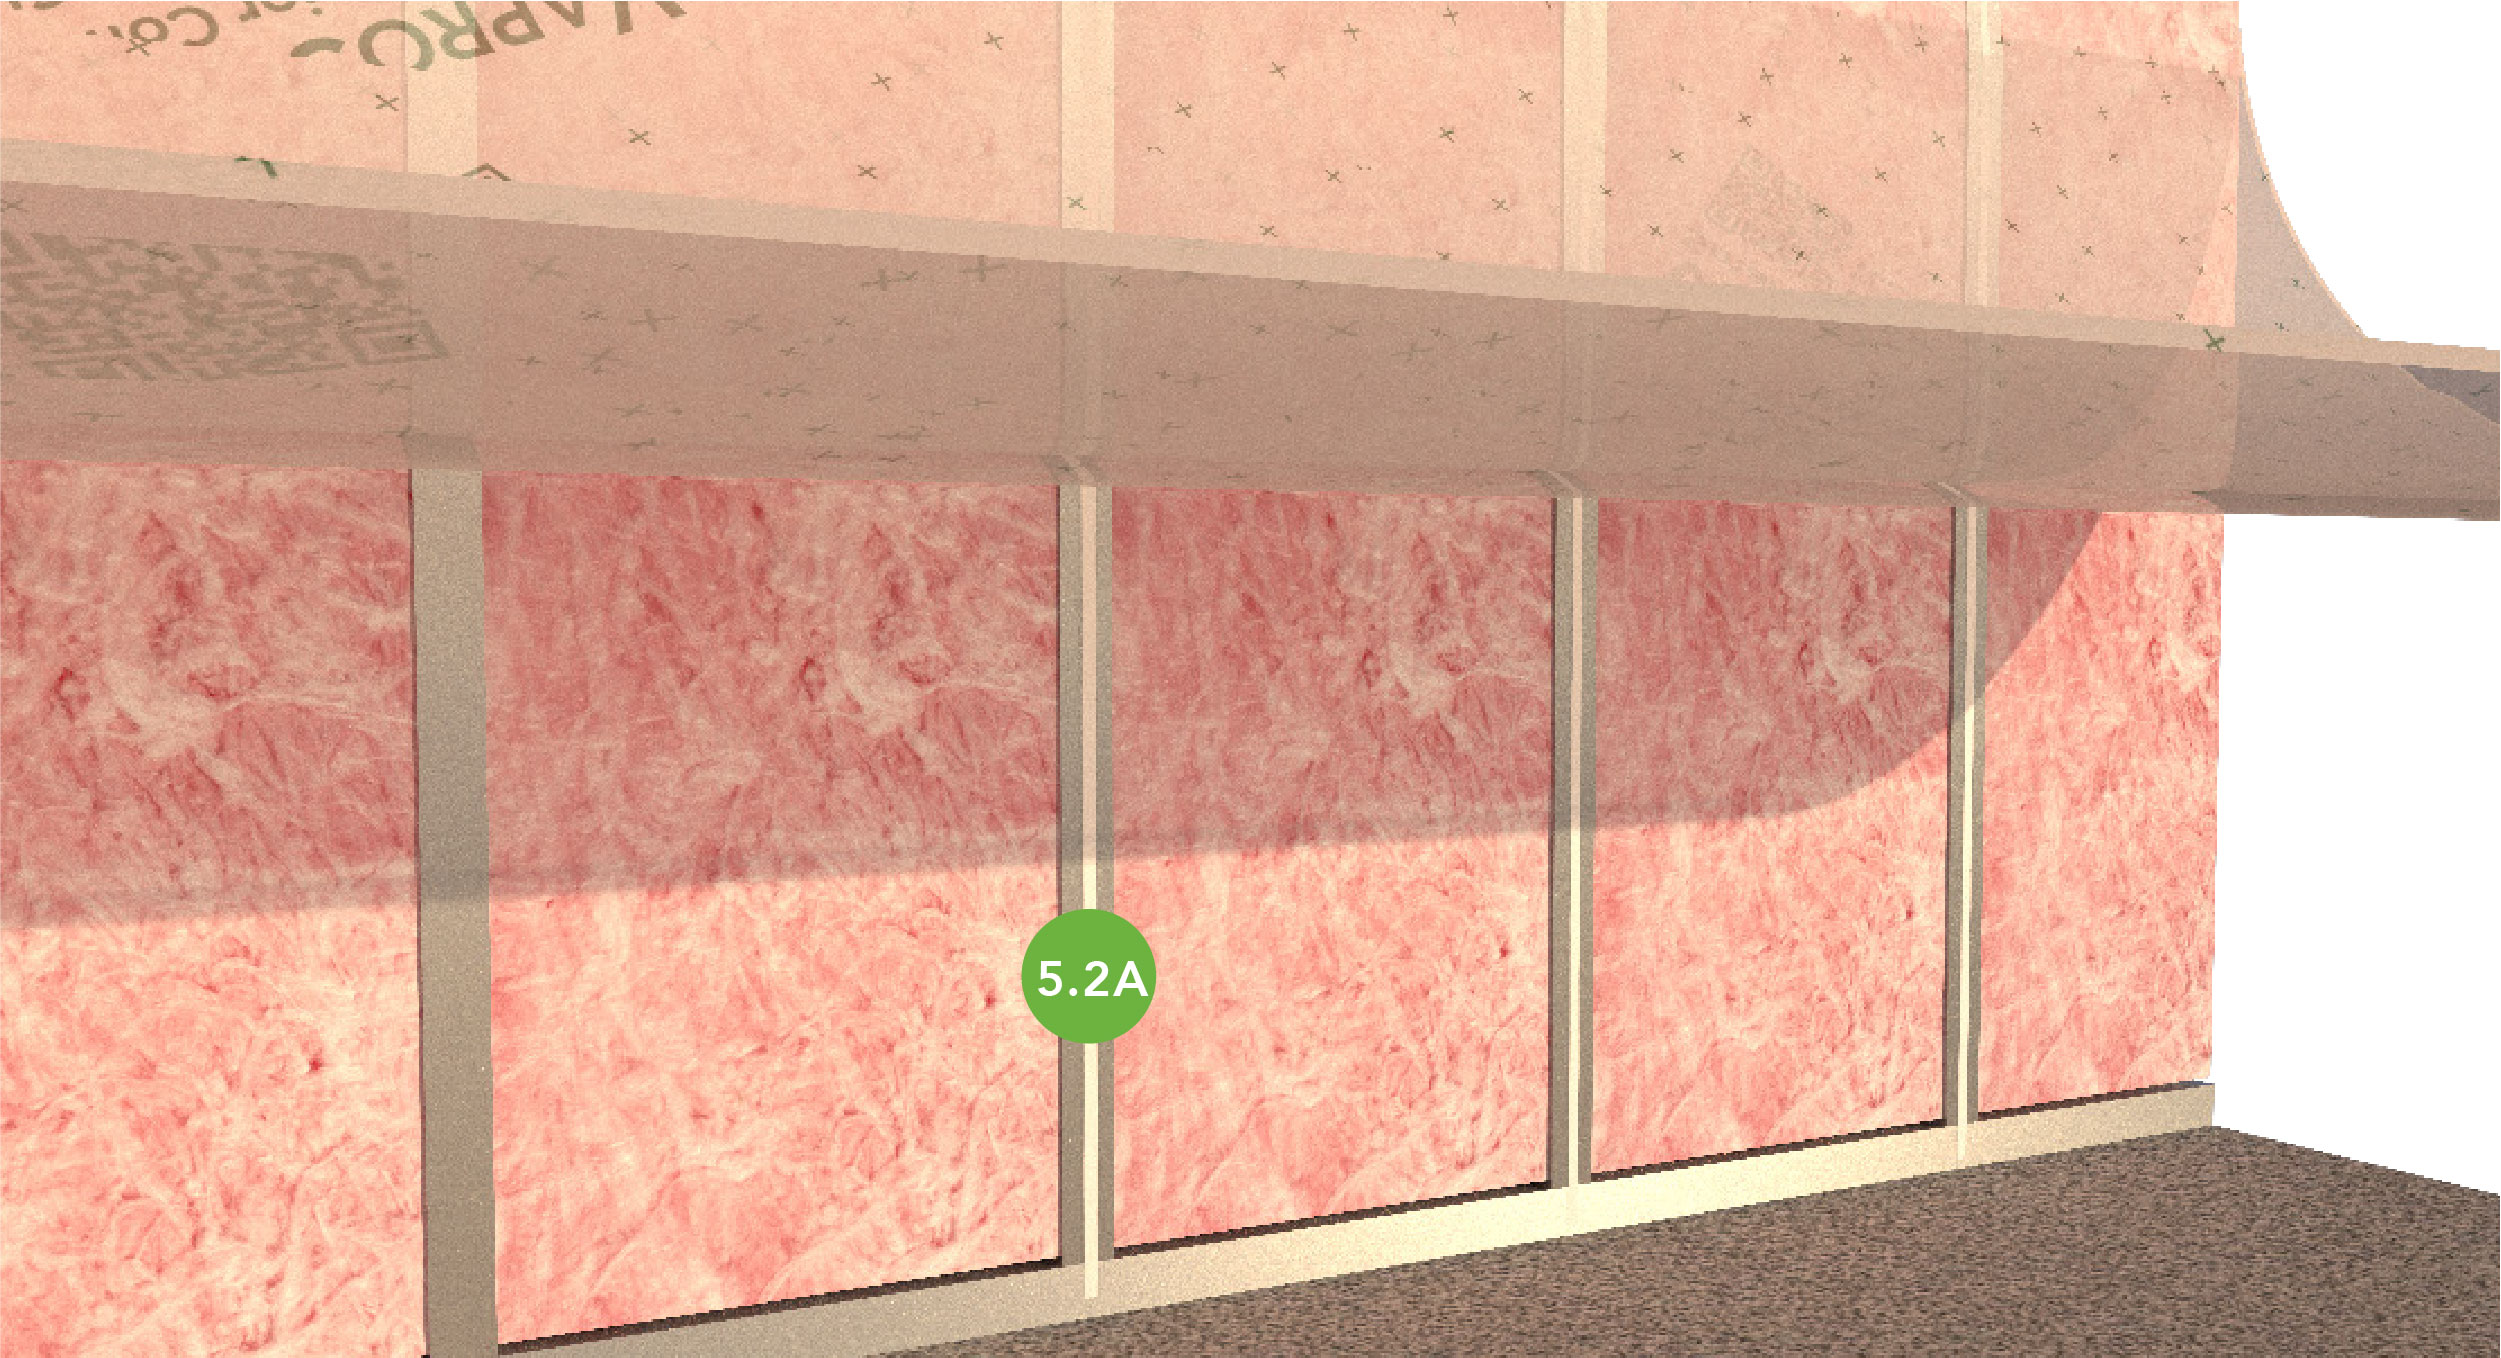
Step 5.2: Metal Framing Attachment Secure VaproSmart to metal framing using one of the following methods:
Press the membrane firmly onto the framing to ensure continuous, smooth contact with the frame surface. Hand pressure is acceptable when using approved attachment methods; however, pressure rolling is recommended when practical to promote consistent adhesion. Align the membrane with framing and maintain smooth, wrinkle-free placement. |
|
|
|
|
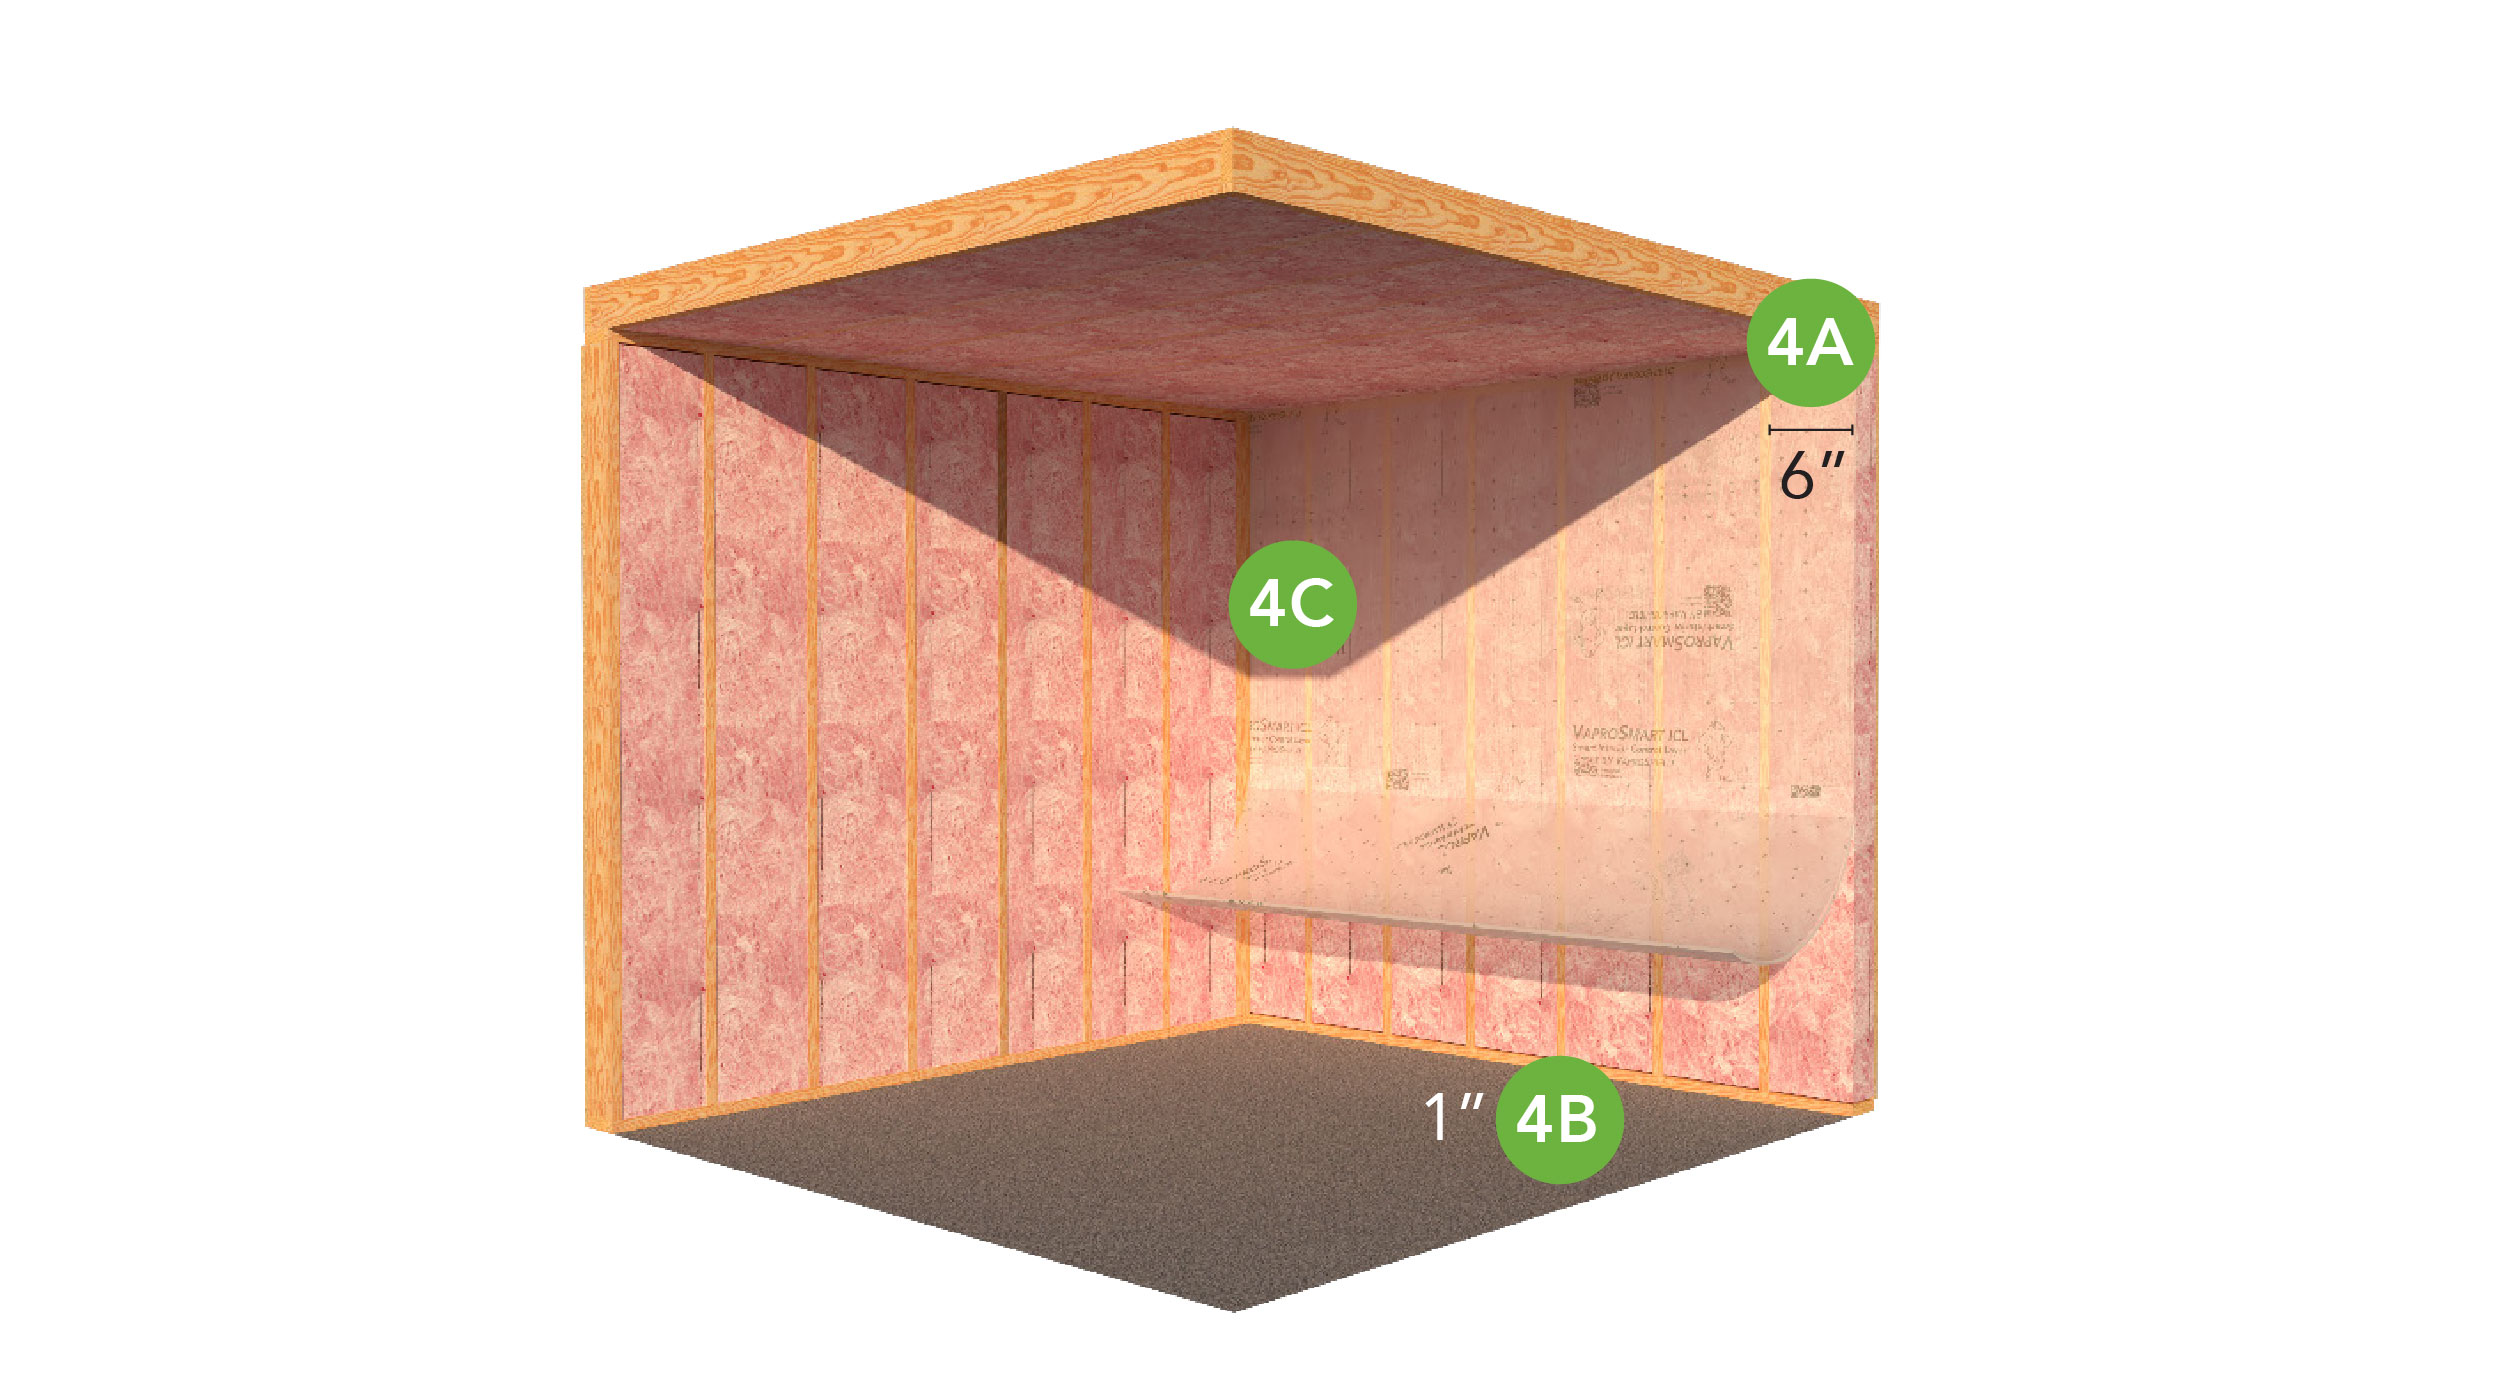
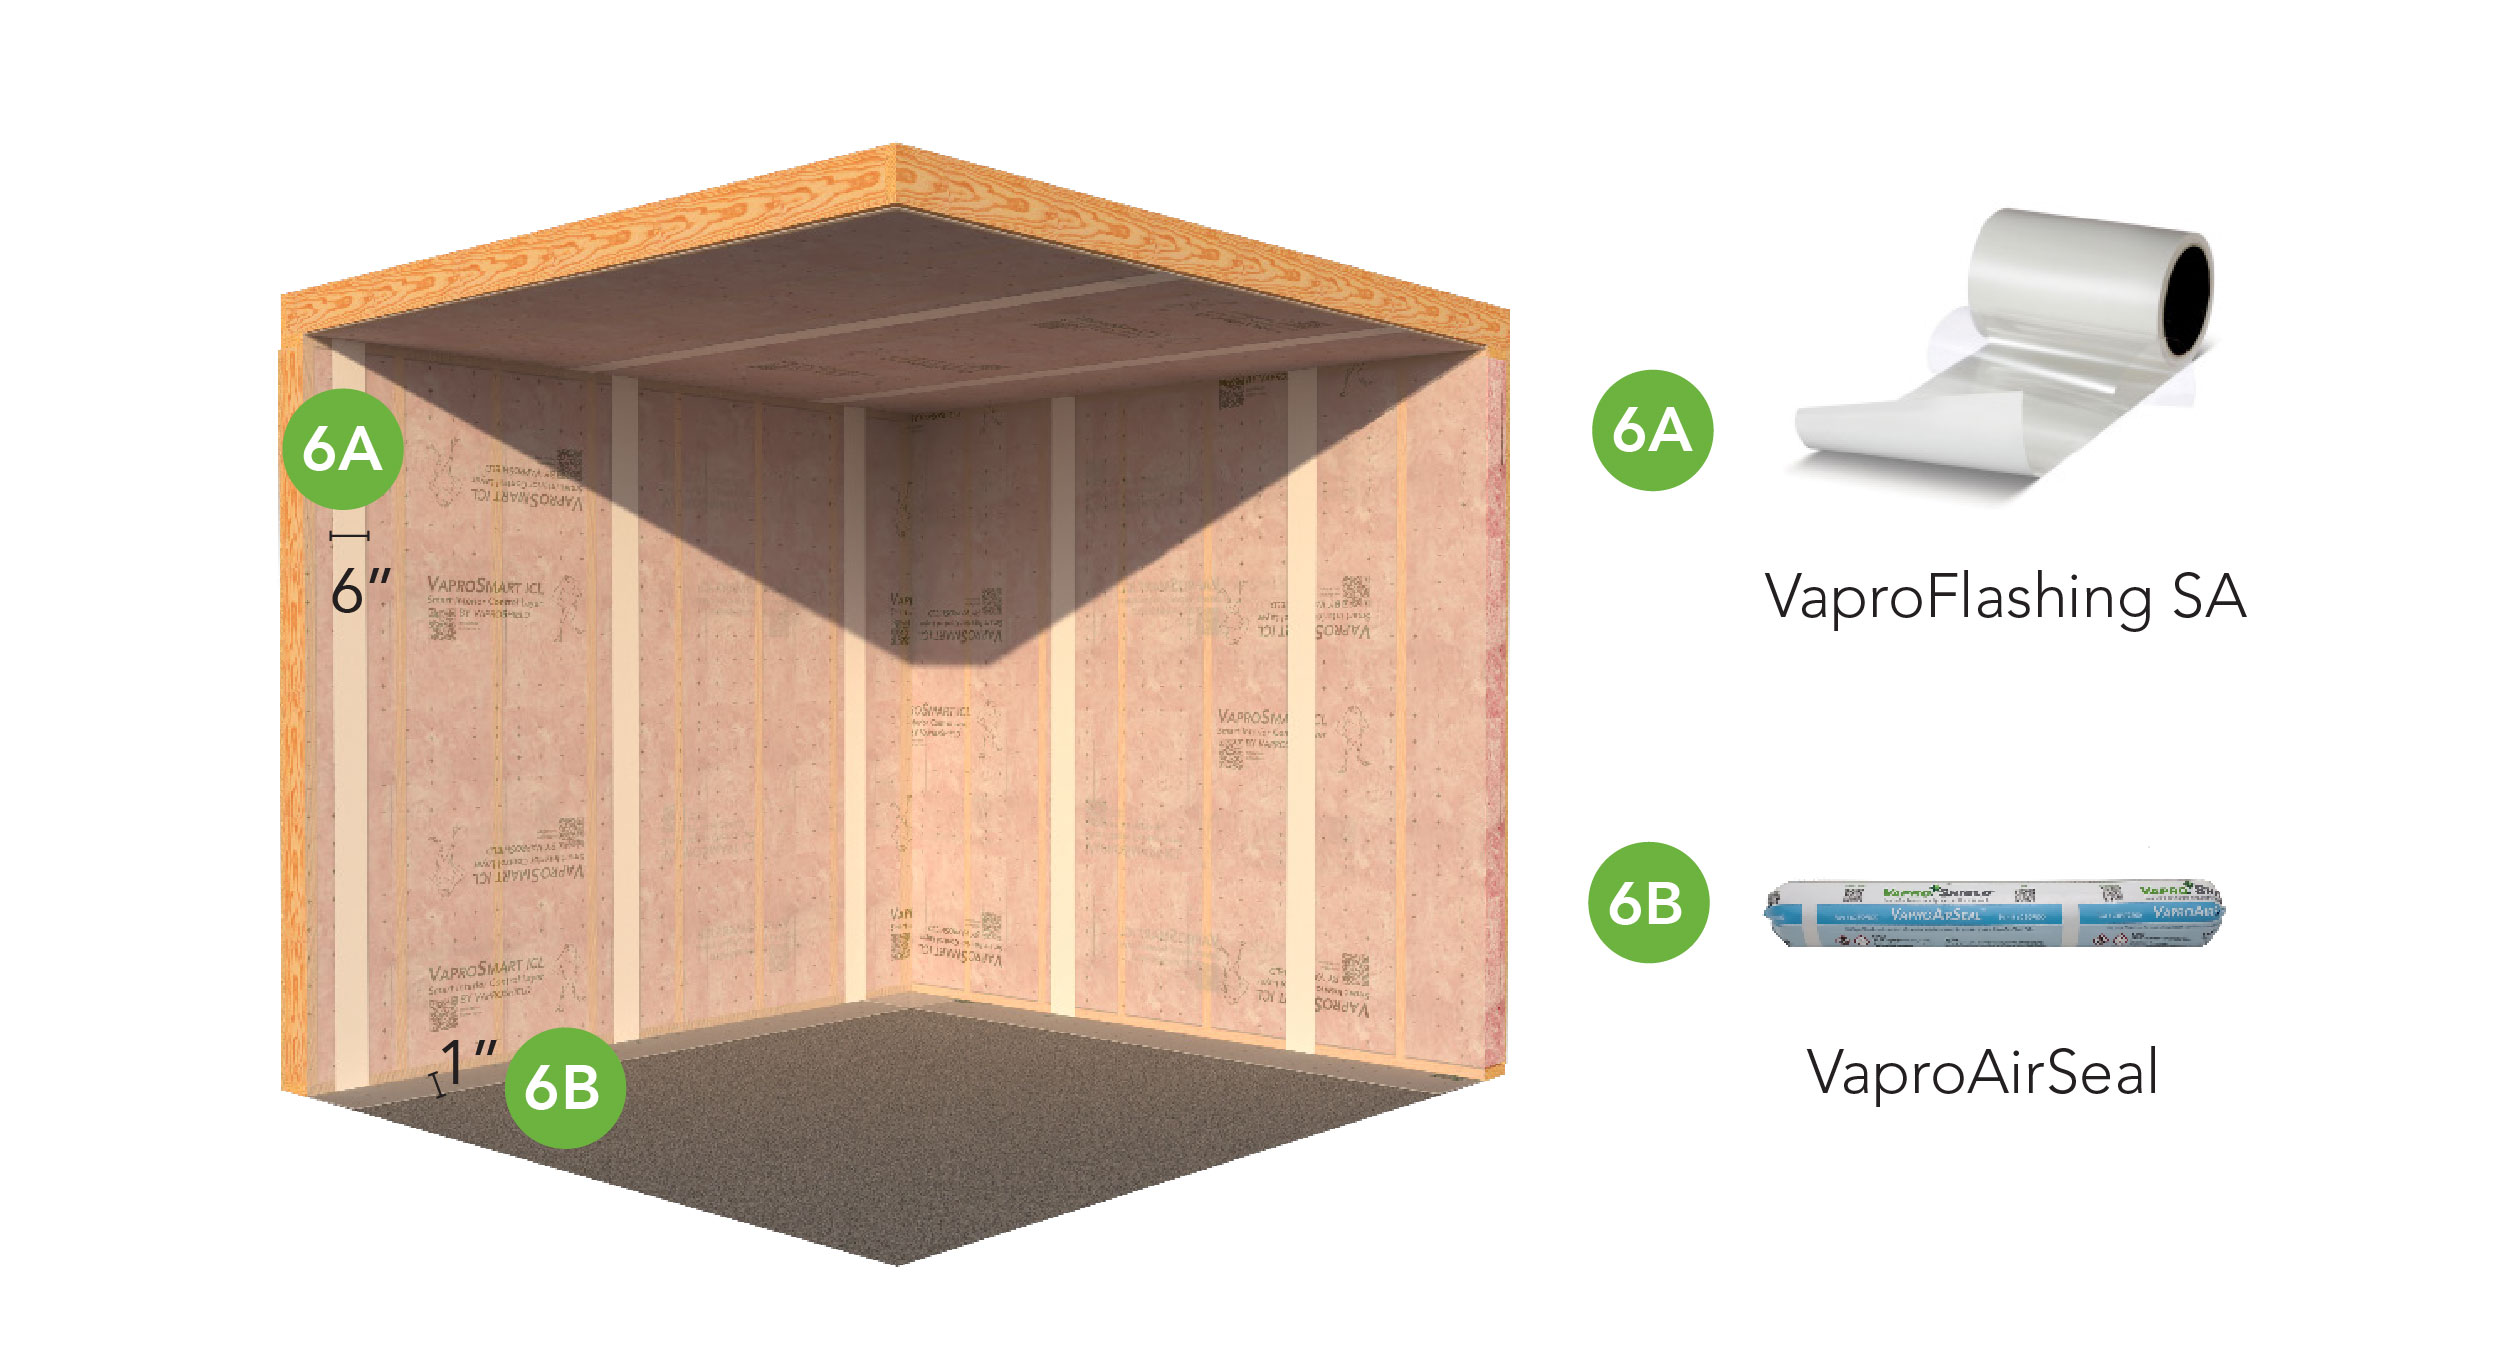
Step 6: Overlaps and Seam Taping 6A. Overlap adjoining sheets by a min. of 3” (7.6 cm) on horizontal and/or vertical seams.
6B. Seal base overlap with VaproAirSeal or specified non-curing acoustic sealant. Press firmly to ensure adhesion. |
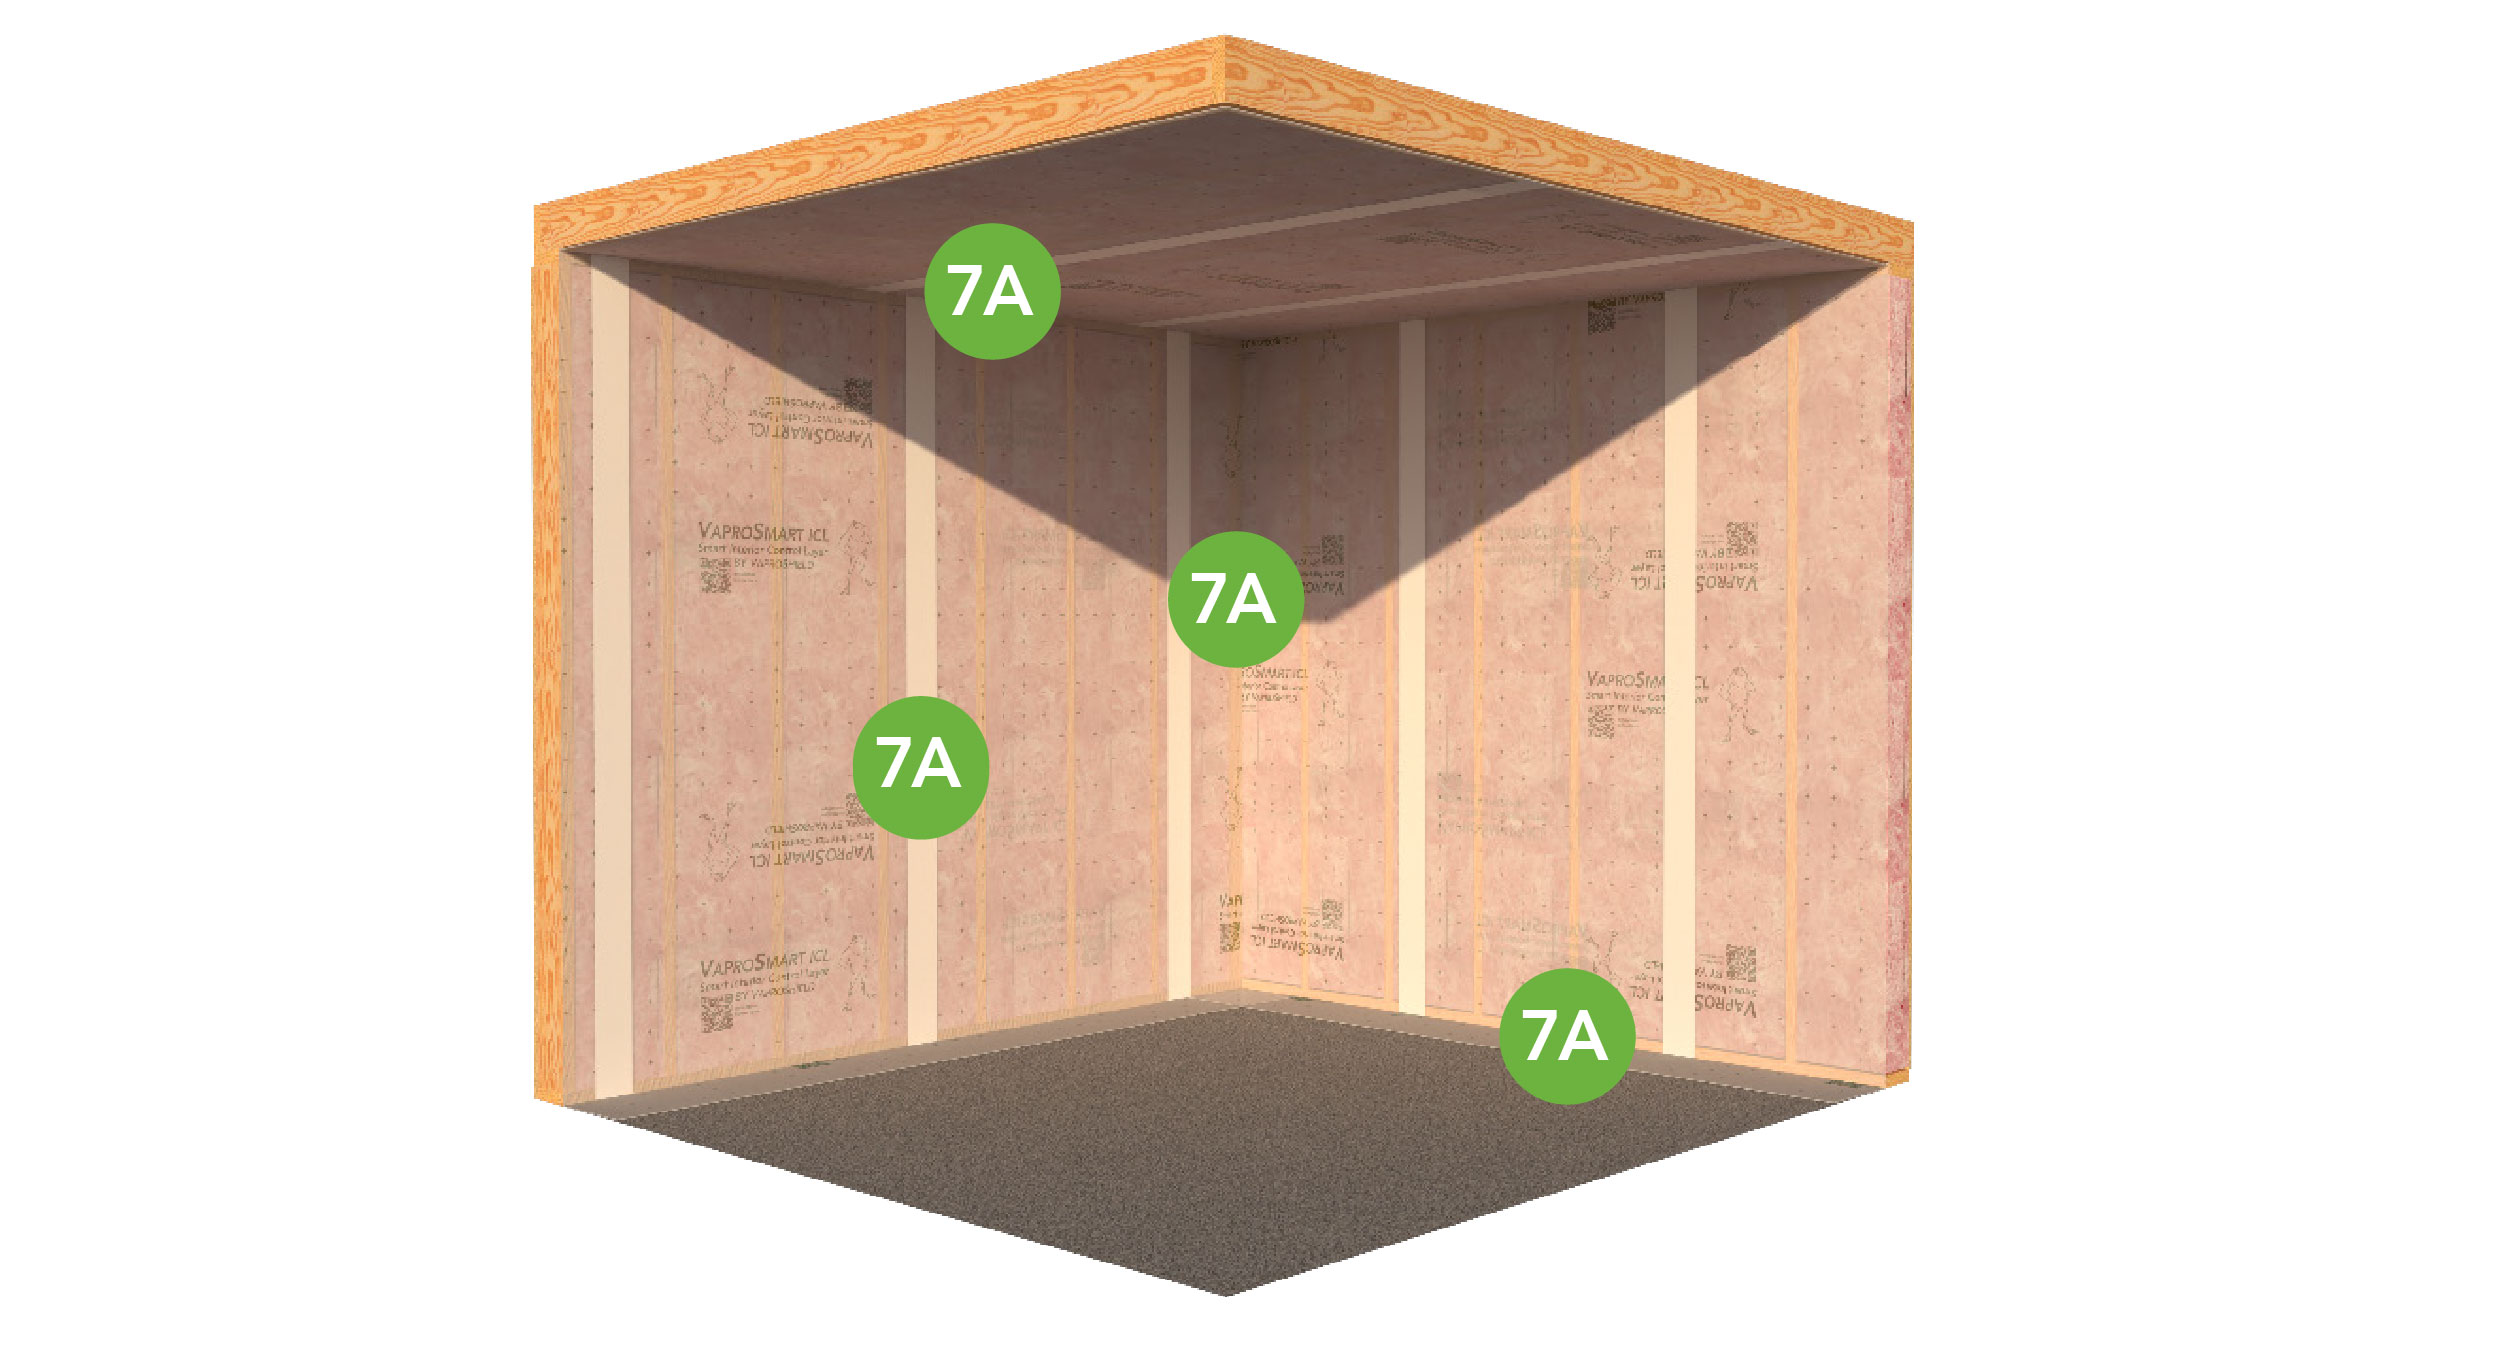
Step 7: Final Inspection Repair any gaps, punctures, or unsealed areas using membrane patches and tape. Optional: perform air leakage testing to verify air barrier continuity prior to drywall installation. |
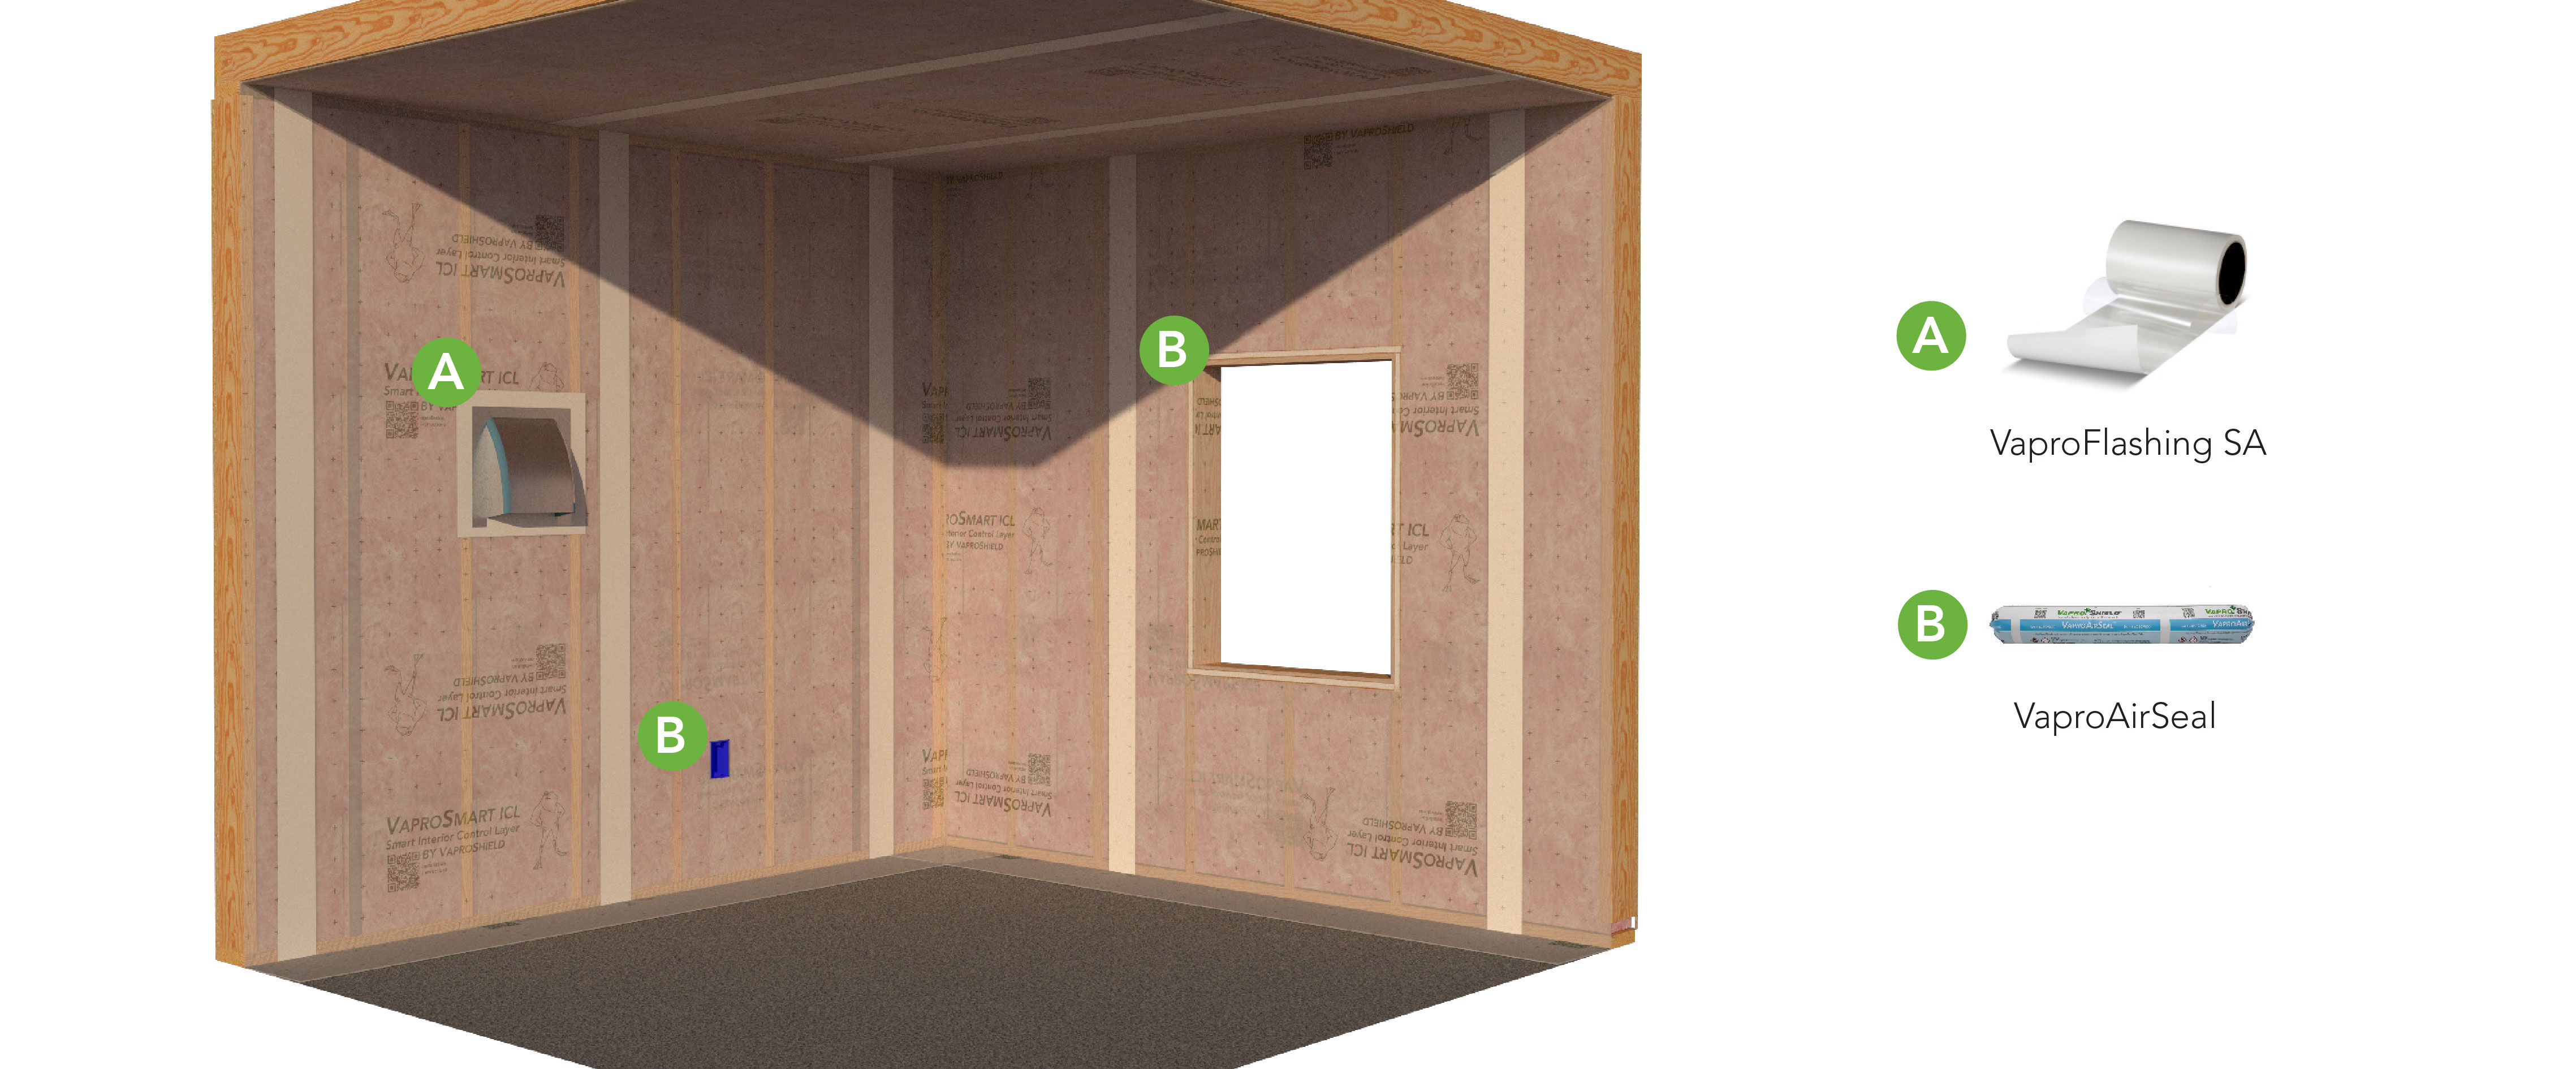
Penetrations and Rough Openings
A. Large penetrations or openings: patch with membrane offcuts, overlap at least 3”, (7.6 cm) and seal with VaproFlashing SA or approved sheathing tape.
B. Small penetrations (electrical boxes, conduit, pipes): cut membrane carefully and seal with VaproAirSeal, non-curing acoustic sealant, or sheathing tape.
C. Windows, doors, and rough openings: fold membrane into opening, secure with fasteners, and seal perimeter with VaproAirSeal.
Service Cavity and Insulation Coordination
If installing a service cavity or loose-fill insulation, ensure the membrane is supported and remains flat.
Avoid punctures or tearing when trades access the wall cavity.
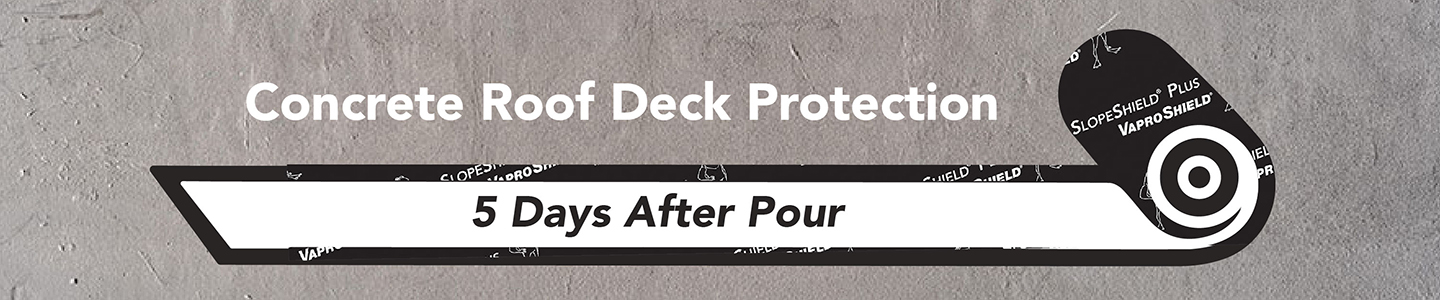
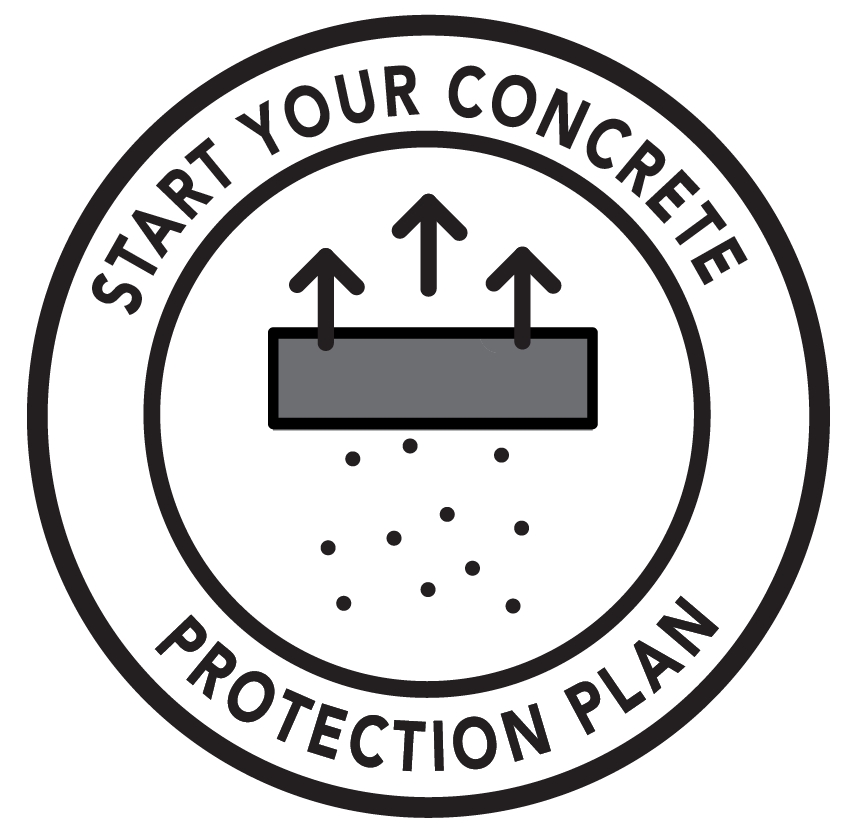
Next-Gen Concrete Protection
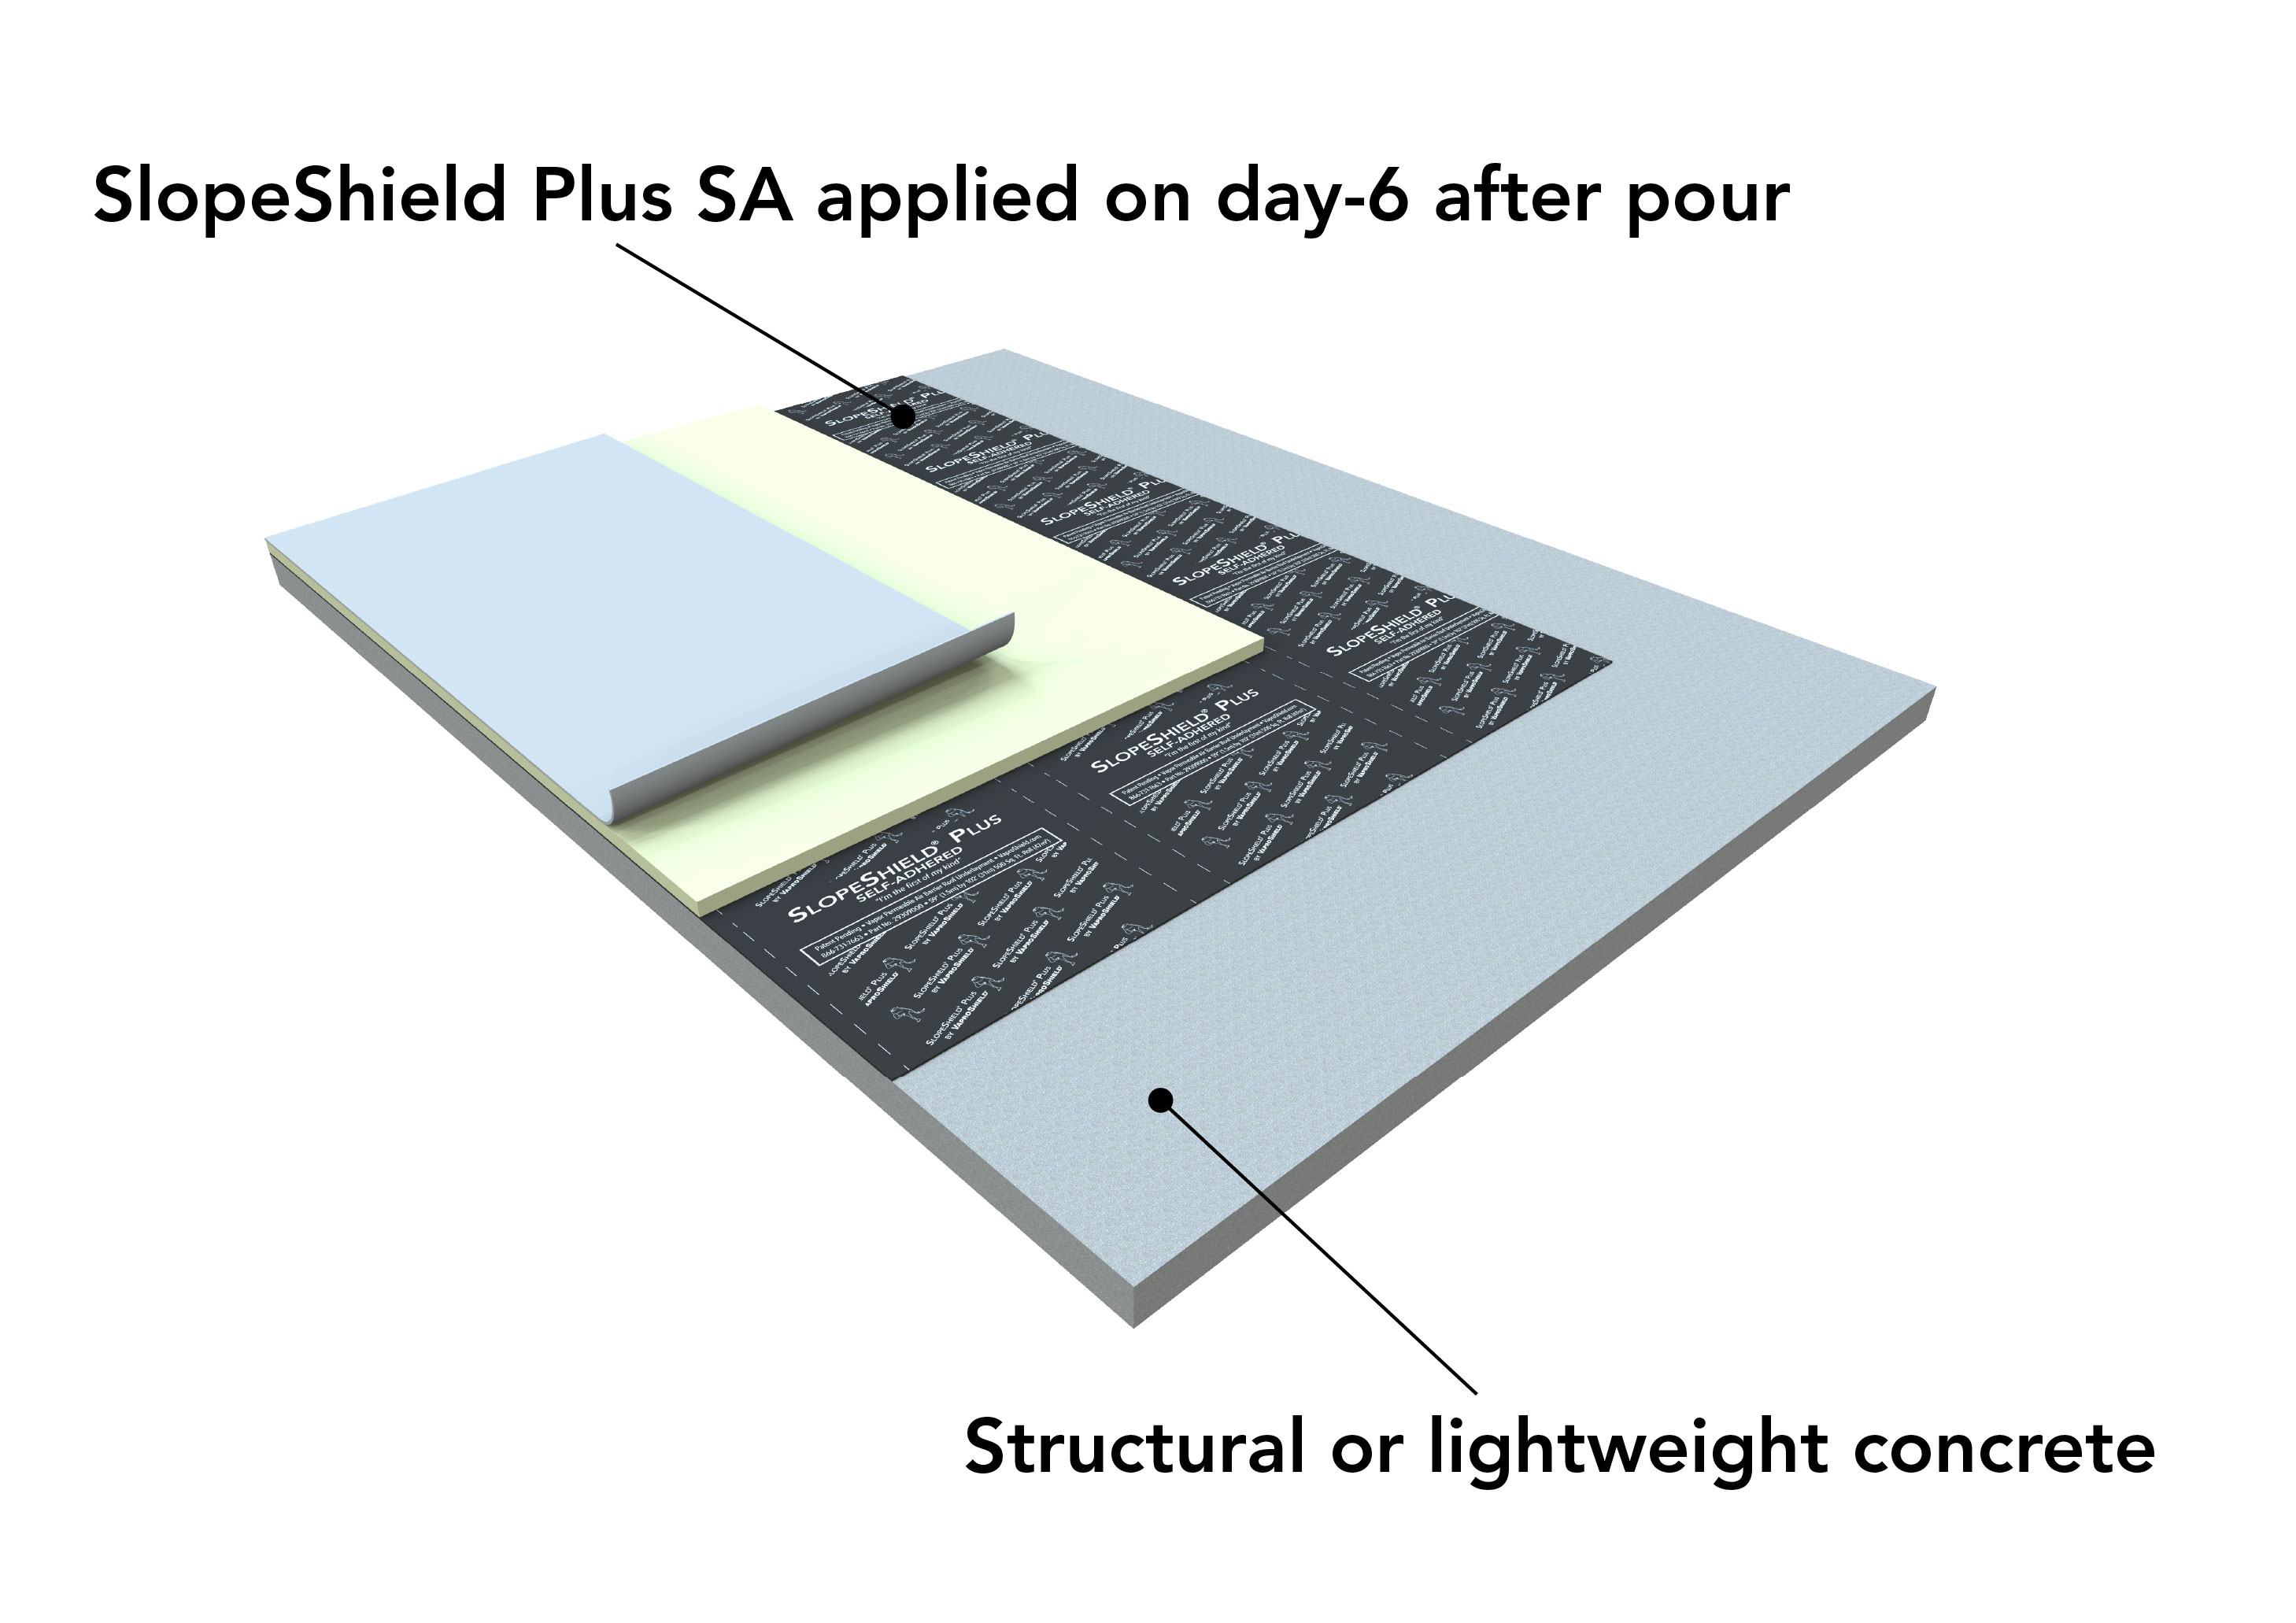 SlopeShield Plus SA gives contractors the flexibility they need with today's demanding schedules and labor-challenged market.
Benefits:
- Apply as early as day-6 after a concrete pour or directly to damp concrete during reroofing
- Prevents weather-related rewetting enabling early dry-in
- Allows interior trades to safely begin BEFORE completing cure cycle
- Eliminates curing calendar resets avoiding costly setbacks
- Streamlines sequencing, protects the structure, keeps project moving
- Saves time, labor, and expensive project setbacks
Green, Fresh Pour Structural Concrete
Install SlopeShield Plus SA over green concrete a minimum of 5 days after pour. Ensure the surface is dry to the touch and meets all the required preparation requirements published in the installation instructions.
| Construct | Pour | Protect Roof Deck |
| Structural concrete roof preparation | Minimum 5-day cure time, apply SlopeShield Plus SA on day 6 or thereafter | Apply SlopeShield Plus SA to partially cured concrete, interior trades can begin |
Lightweight Insulating Concrete
SlopeShield Plus SA can be applied to lightweight insulating concrete. Substrate preparation includes priming the surface with sodium silicate approximately two days after the pour to lock in free lime and stabilize the surface chemistry.
| Construct | Pour/Prepare | Protect Roof Deck |
|
Lightweight concrete roof preparation |
Minimum 5-day cure time, prime within two days, apply SlopeShield Plus SA on day 6 or thereafter |
Apply SlopeShield Plus SA to partially cured concrete, interior trades can begin |
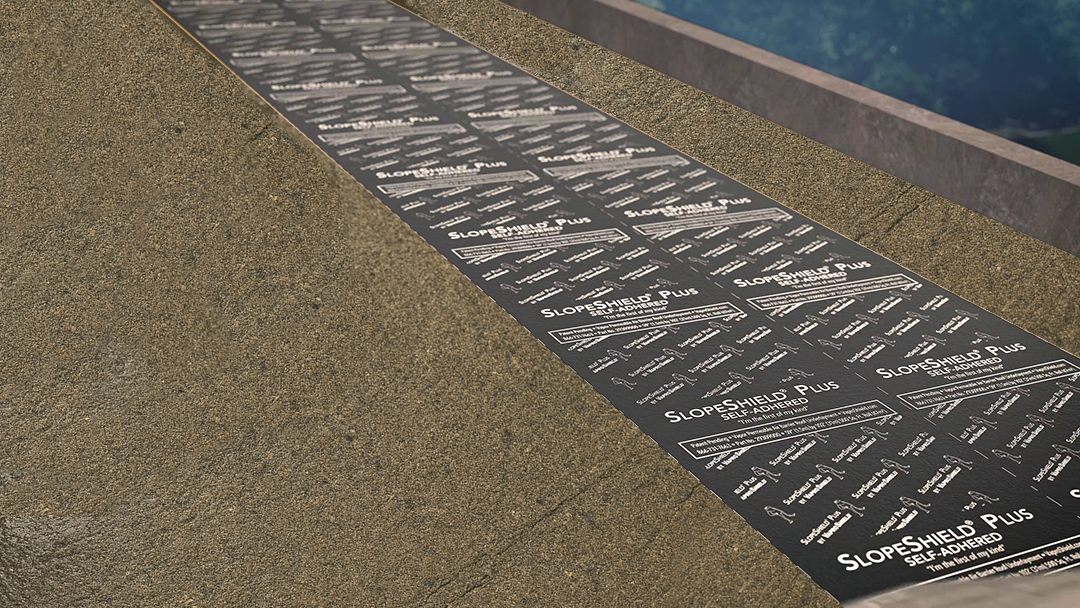
Advantages of SlopeShield Plus SA Over Concrete
 |
|
|
Applying SlopeShield Plus SA on day-6 of the cure process:
|
Upon full cure, following American Concrete Institute (ACI) guidelines, SlopeShield Plus SA creates a walkable surface with excellent traction and supports construction equipment |

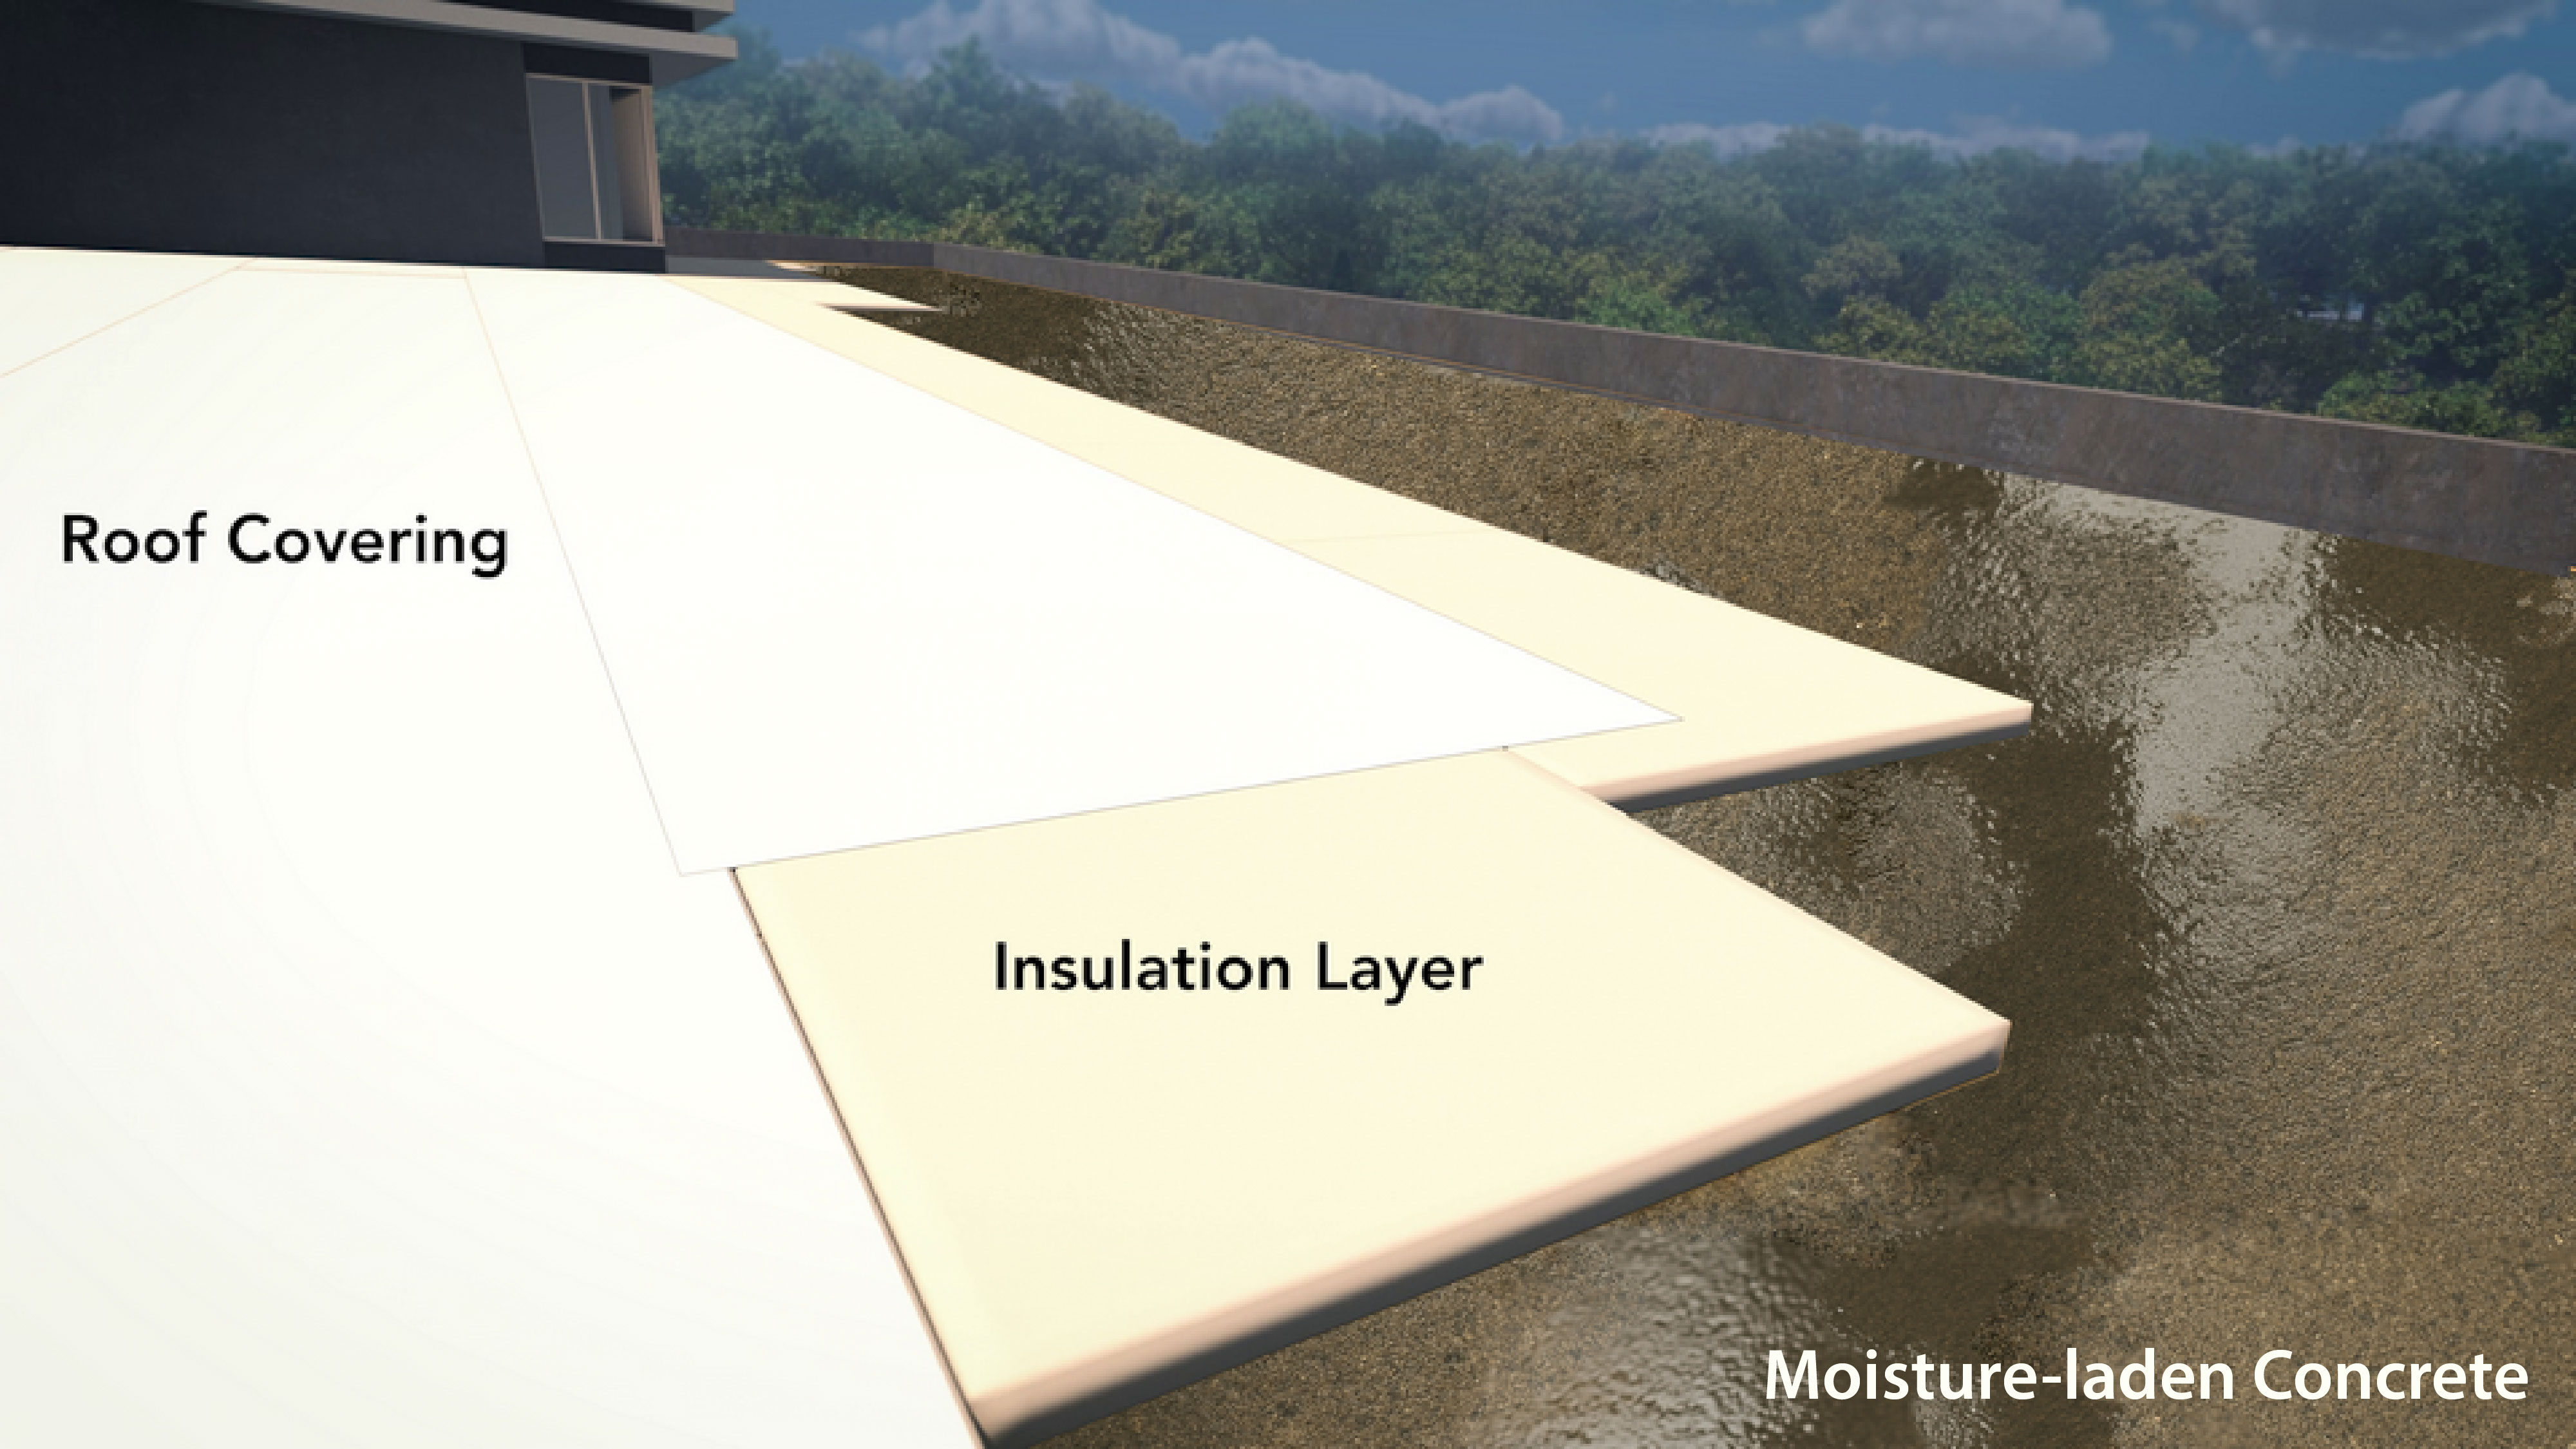
Reroof: Over High Moisture Content Concrete
SlopeShield Plus SA can be applied over existing concrete with high moisture content if the surface is dry to the touch. Applying SlopeShield Plus SA eliminates rewetting—even after rain—reducing schedule uncertainty and maintaining interior operations.
| Remove | Protect | Remain Operational |
|
|
 |
 |
|
Damp concrete is exposed |
Apply SlopeShield Plus SA to high moisture content concrete |
Concurrent drying and protection maintains project momentum |
Cure Times and Installation Guidance
SlopeShield Plus SA does not accelerate the natural curing process of concrete; proper curing is still essential for substrate integrity and performance. While SlopeShield Plus SA protects the concrete from external moisture and allows internal vapor to escape, VaproShield recommends following American Concrete Institute (ACI) guidelines for cure time. This guideline aligns with industry standards to ensure optimal results.
| Continue the Conversation With Us |
 |
Concrete Roof Deck Protection Resources
Related Products

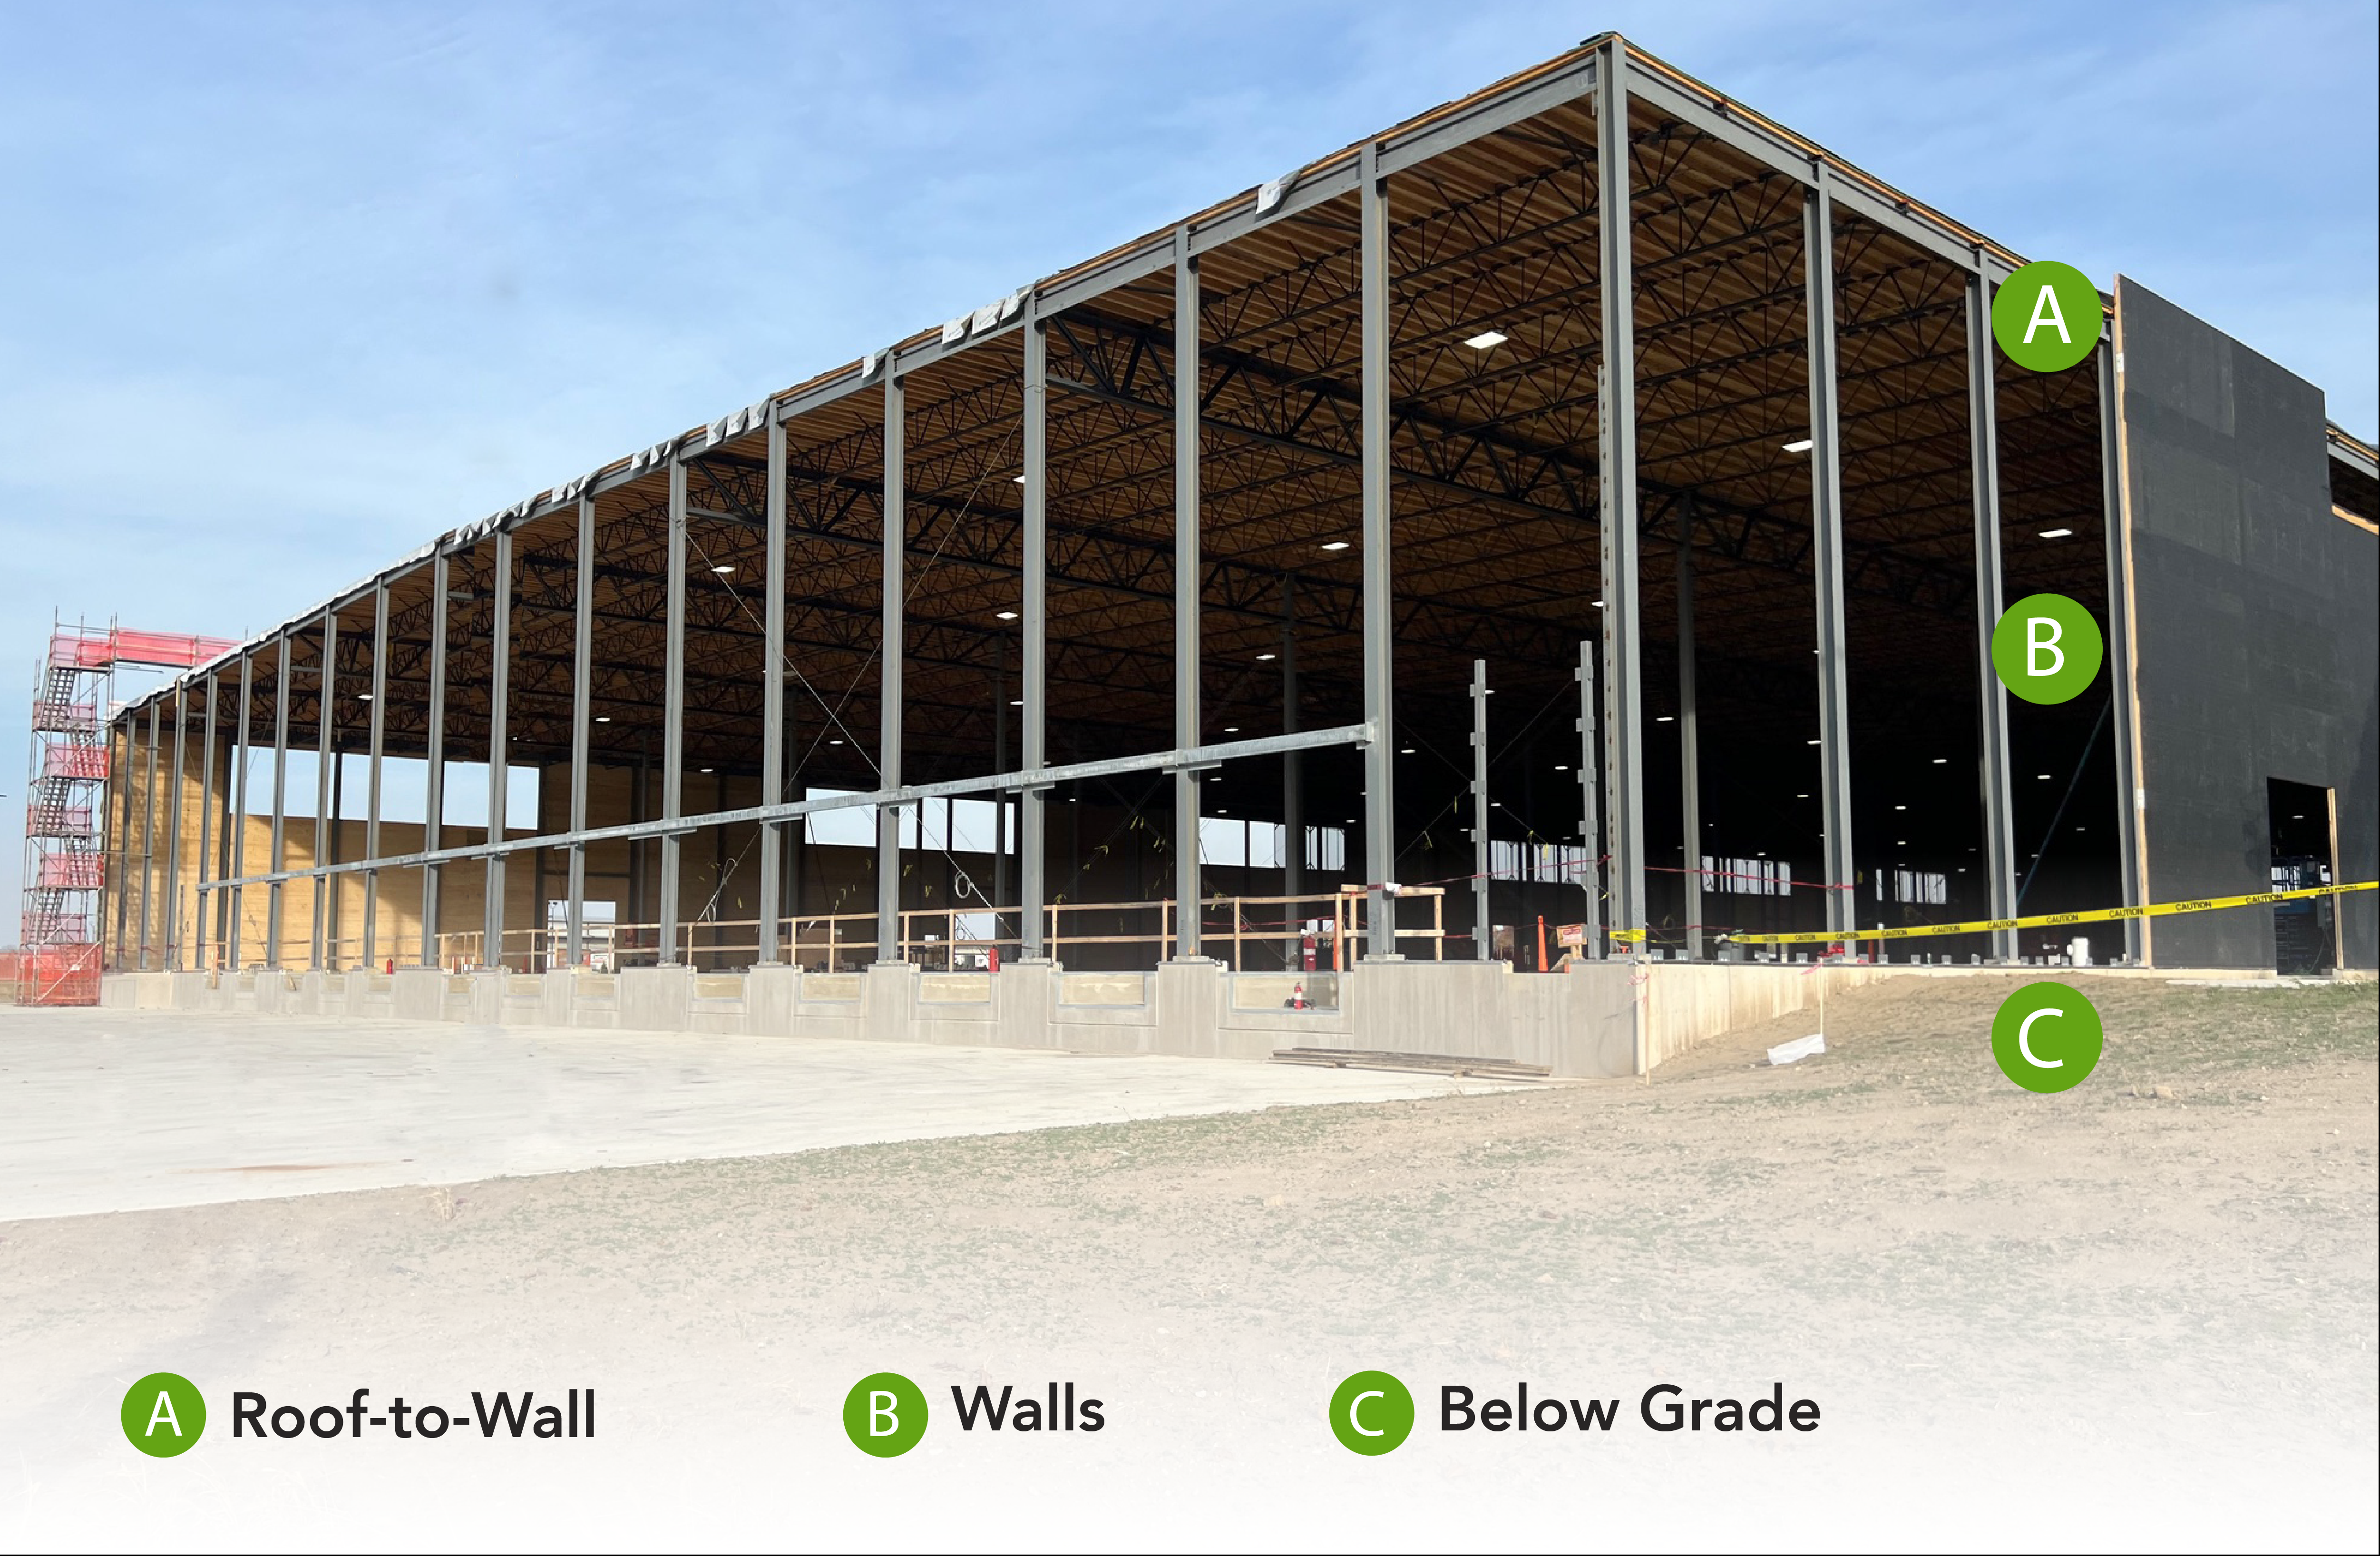
Roof-to-Below-Grade Protection
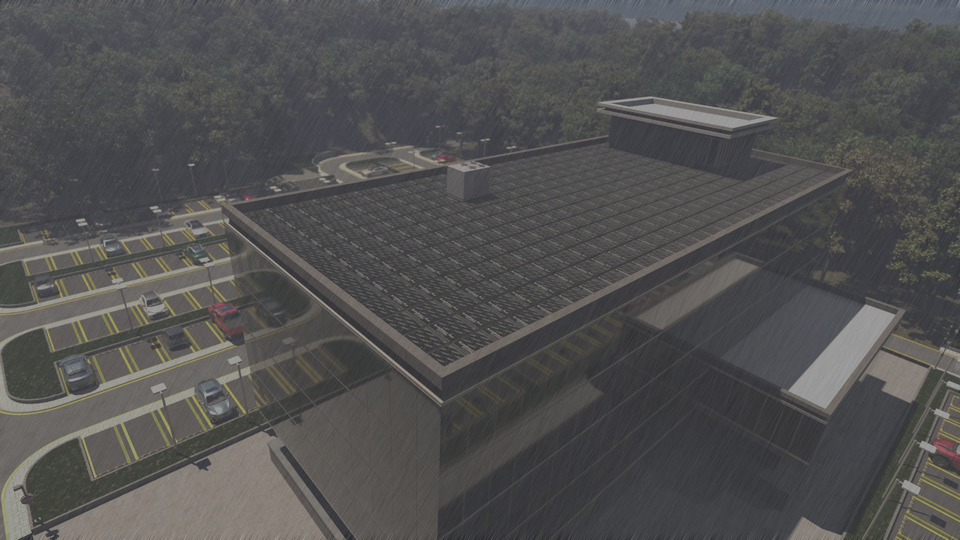
 Large-format industrial buildings such as data centers require continuous, high-performance building enclosure systems to safeguard the critical infrastructure within. Moisture intrusion, uncontrolled air leakage, and enclosure failures can compromise uptime, disrupt operations, and increase long-term risk. A fully integrated roof-to-below-grade enclosure solution from VaproShield delivers continuous protection, helping preserve mission-critical assets while enhancing energy efficiency and long-term facility value.
Proven Solutions
Roof to Below Grade Air Barrier Solutions
VaproShield’s integrated air barrier systems deliver continuous, airtight protection from roof to below grade, strengthened by a strategic alliance with Polyguard—providing one system, one warranty, and complete confidence.
Walmart Headquarters
Bentonville, Arkansas |
|
|
|
Amazon DII5 Delivery Station
Elkhart, Indiana |
Hi-Tech Campus
Redmond, Washington |
 |
Approvals on Our Popular Products
 |
 |
 |
Build with confidence - Learn more about our critical infrastructure integrated moisture solutions. Contact us for your free sample